Introduction
Responsive entertainment template for Joomla! 2.5 & Joomla 3. JA Smashboard brings you a whole new fresh template suitable for any entertainment sites, from music to television industry.
Articles are presented in a slider supporting infinite scroll for a flawless flow. Vertical left side menu, cosy and modern background, fully responsive, all make JA Smashboard stand out.
Built upon the latest version of T3 Framework, this template works well on any webs enabled device and mobile browser. JA Smashboard also supports K2 component for various content types.
1. Main Features
- T3 Framework latest version
- Integrated Bootstrap
- Fully responsive
- K2 Component Support
- Off-Canvas menu for Mobile
- Fully compatible with Joomla! 2.5 & Joomla 3
- Does not support Mega Menu
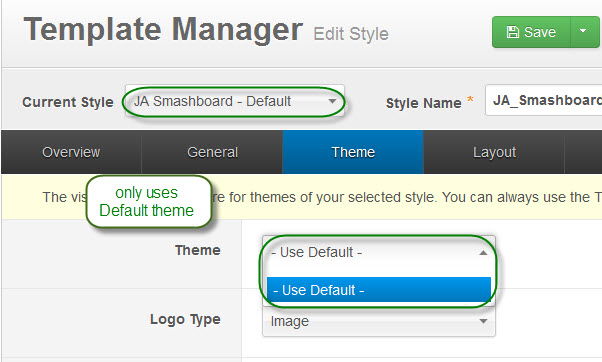
- Does not support multi themes
2. JA Extensions Supported
- JA Bookmark plugin
- JA Disqus Debate Echo plugin
3. Third Party Extensions Supported
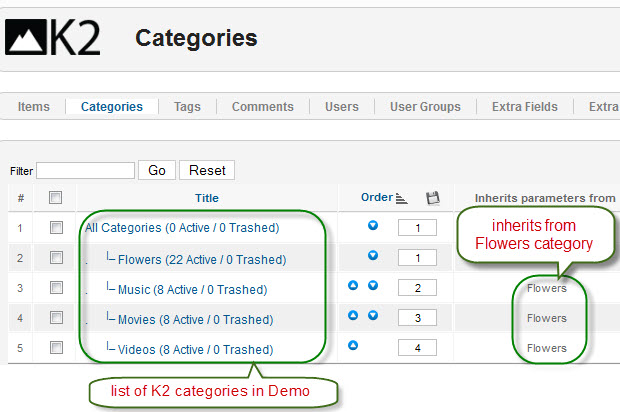
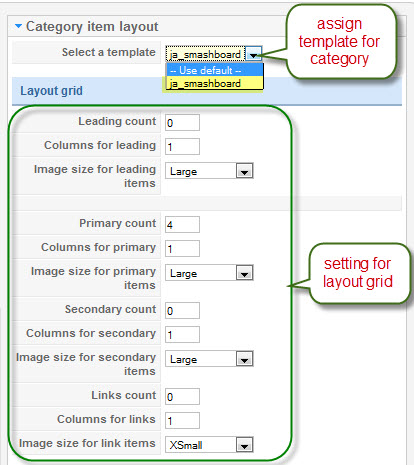
- K2 Component
- Acymailing Component
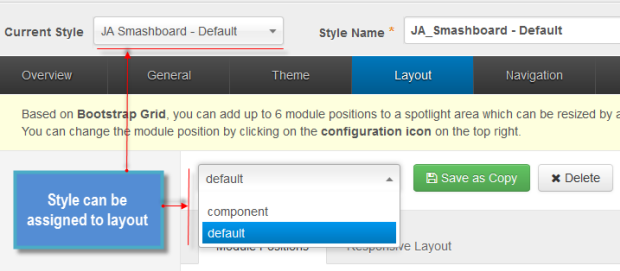
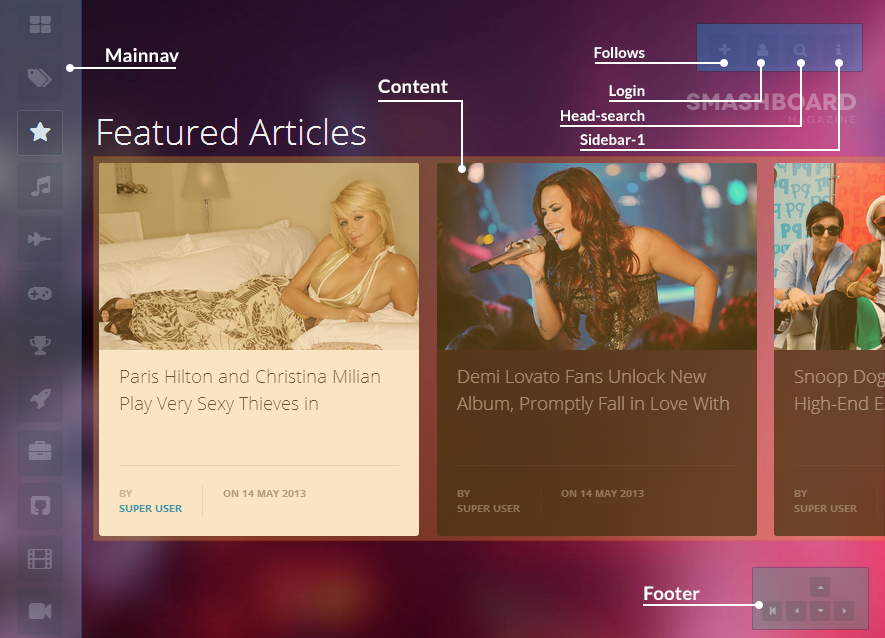
4. Layout and Module Positions
Please check the image below to know the structure, layout, module positions of JA Smashboard.
System requirement
JA Smashboard is compatible with Joomla 3 and Joomla 2.5. Please make sure your system meets the following requirements:
Joomla 3 System requirement
Software
- Software: PHP (Magic Quotes GPC off): 5.3.1 + (5.4+ recommended)
Databases
- MySQL(InnoDB support required): 5.1+
- MSSQL 10.50.1600.1+
- PostgreSQL 8.3.18+
Web Severs
- Apache 2.x+
- Microsoft IIS 7
- Nginx 1.0 (1.1 recommended)
Joomla 2.5+ system requirement
Software
- Software: PHP 5.2.4+ (5.4+ recommended)
- MySQL: 5.0.4+
Web Sever
- Apache: 2.x+
- Microsoft: IIS 7
- Nginx: 1.0 (1.1 recommended)
Browser requirement
The requirements are the same with both Joomla 2.5 and Joomla 3
- Firefox 4+
- IE (Internet Explorer) 8+
- Google Chrome 10+
- Opera 10+
- Safari 5+
Development Environment
The requirements are the same with both Joomla 2.5 and Joomla 3
During development process, Localhost is preferred. You can use the following servers on your PC to develop your site.
Windows
- WAMPSEVER
- XAMPP for Windows
Linux
- LAMP Bubdle
- XAMPP for Linux
Mac OS
- MAMP & MAMP Pro
- XAMPP for Mac OS
Download & Installation
1. Plan your site Development
- Making a New Site? - If you are planning to make a new site, use our Quickstart package to clone the demo site and replace the demo content with yours. Check How to install Quickstart Package.
- Installing on your live site? - If you are planning to use this template on your existing live-site, read How to make your site look like demo site guide first to learn about the steps involved. Then you can follow the userguide below.
2. Download Template and Extensions
Browse and Download: Go to the Download page of JA Smashboard and download the Template zip file.
3. Install Template
Install the Template: Now install the Template on your Joomla 2.5 & Joomla 3.x system. Follow This Guide if you are not familiar with the installation procedure.
4. Install Extensions
JA Smashboard template will install with Settings used on the demo website, so you can postpone the configuration until you complete the setup (install other plugins used in the demo website).
If you are new to Joomla installation procedure, please check the following documentation.
View Detail DocumentationCustom HTML Module: To match the design of the template, we also style (CSS) for Custom HTML modules using different div classes. You will need to check the HTML codes and make sure to use the recommended HTML markup to get correct display. We provide the HTML code in this user-guide.
Extensions Configuration
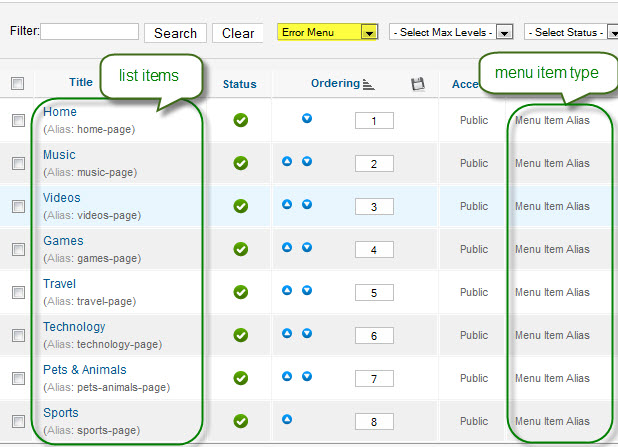
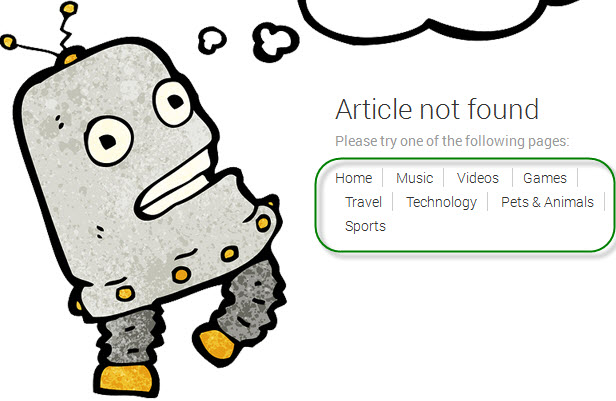
1. Error Menu Module
This module is to display ERROR page. Please follow our instructions below:
Step 1: Create Error menu items
Go to: Administrator >> Menus >> Menu Manager >> Add New Menu: Error Menu. Then go to: Administrator >> Menus >> Error Menu>> Add New Menu Item Type
Note: Other modules have the same settings with the 2 listed modules above.
Step 2: Create new Menu module
Go to Administrator >> Module Manager >> Add new Menu Module
Module type :  Menu
Module position : error-menu
Module Suffix :  NOT USED
- Back-end Settings
- Front-end Appearance
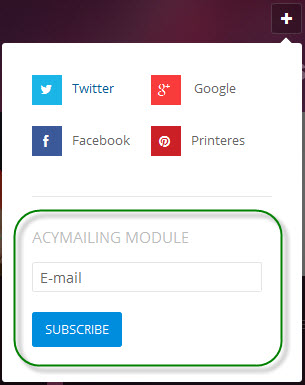
2. AcyMailing Module
Module type :  mod_acymailing
Module position : followus
Module Suffix :  NOT USED
- Back-end Settings
- Front-end Appearance
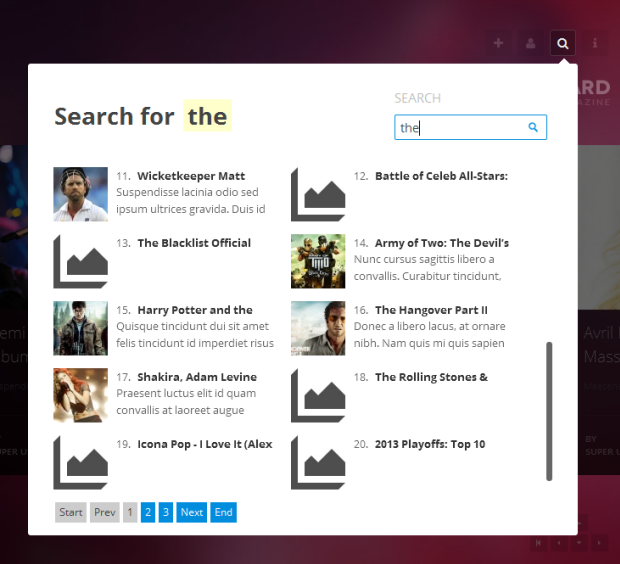
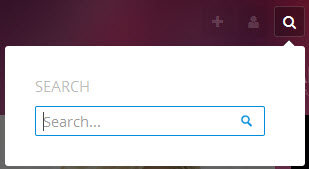
3. Search Module
Module type :  Search
Module position: head-search
Module Suffix :  NOT USED
- Back-end Settings
- Front-end Appearance
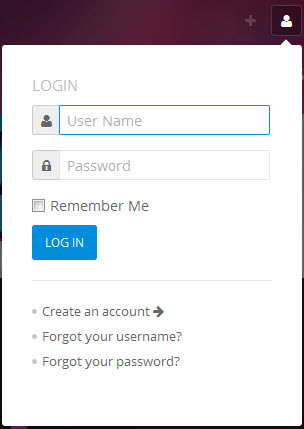
4. Login Module
Module type : Login
Module positon : login
Module Suffix : NOT USED
- Back-end Settings
- Front-end Appearance
5. Footer Module
Module type :  Footer
Module positon: sidebar-1
Module Suffix :  NOT USED
- Back-end Settings
- Front-end Appearance
6. JA Bookmark Plugin
- Back-end Settings
- Front-end Appearance
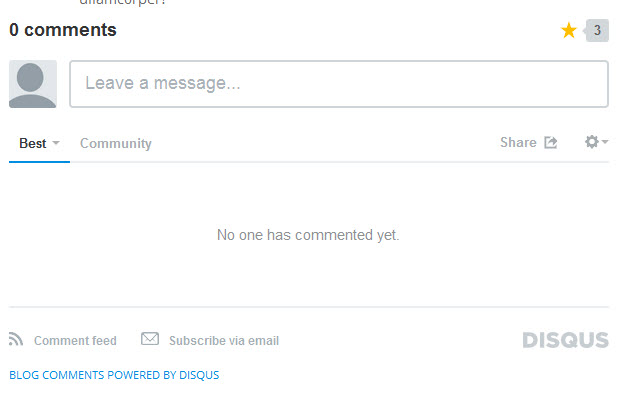
7. JA Disqus Debate Echo Plugin
- Back-end Settings
- Front-end Appearance
Custom HTML Modules
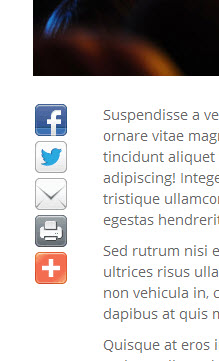
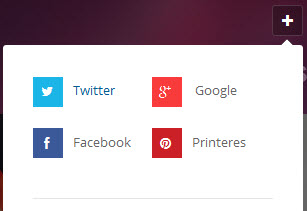
1. Follow us
Module position : followus
Module Suffix :   social
<ul class="social-list clearfix">
<li class="twitter"><a href="#" title="Twitter"><span class="icon-twitter"> </span>Twitter</a></li>
<li class="google"><a href="#" title="Google"><span class="icon-google-plus"> </span> Google</a></li>
<li class="facebook"><a href="#" title="Facebook"><span class="icon-facebook"> </span>Facebook</a></li>
<li class="printeres"><a href="#" title="Printeres"><span class="icon-pinterest"> </span>Printeres</a></li>
</ul>
- Back-end Settings
- Front-end Appearance
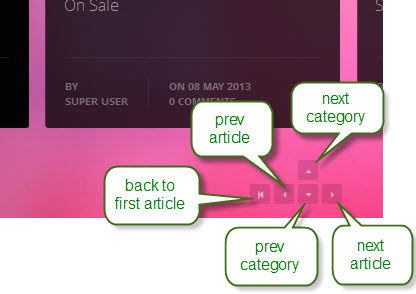
2. Keyboard
Keyboard Module functionality allows you to Next / Preview (article/category) or back to first article easily.
Module position : footer
Module Suffix : NOT USED
<div class="ja-keyboard-btns clearfix"> </div>
- Back-end Settings
- Front-end Appearance
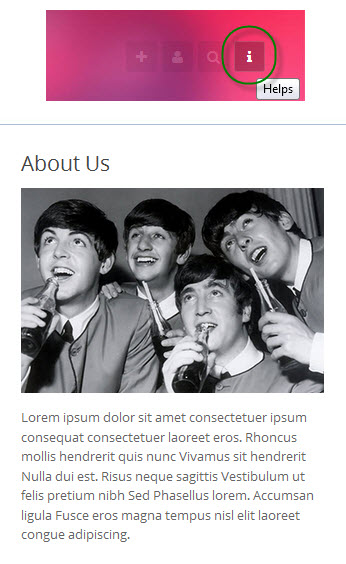
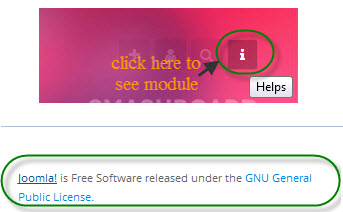
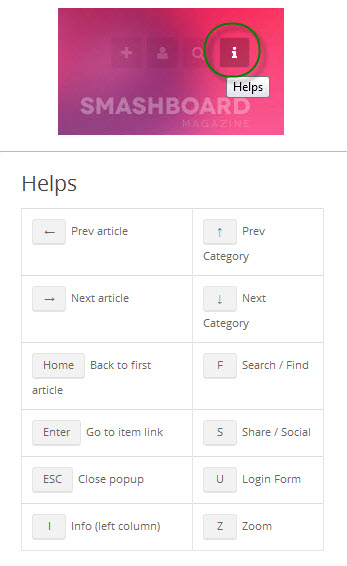
3. Helps
Module position : sidebar-1
Module Suffix :   NOT USED
<table class="symbols-list">
<tbody>
<tr>
<td><span class="symbol">?</span><span>Prev article</span></td>
<td><span class="symbol">?</span><span>Prev Category</span></td>
</tr>
<tr>
<td><span class="symbol">?</span><span>Next article</span></td>
<td><span class="symbol">?</span><span>Next Category</span></td>
</tr>
<tr>
<td><span class="symbol">Home</span><span>Back to first article</span></td>
<td><span class="symbol">F</span><span>Search / Find</span></td>
</tr>
<tr>
<td><span class="symbol">Enter</span><span>Go to item link</span></td>
<td><span class="symbol">S</span><span>Share / Social</span></td>
</tr>
<tr>
<td><span class="symbol">ESC</span><span>Close popup</span></td>

<td><span class="symbol">U</span><span>Login Form</span></td>

</tr>
<tr>
<td><span class="symbol">I</span><span>Info (left column)</span></td>
<td><span class="symbol">Z</span><span>Zoom</span></td>
</tr>
</tbody>
</table>
- Back-end Settings
- Front-end Appearance
4. About Us module
Module position : sidebar-1
Module Suffix :   NOT USED
<p class="about"><img src="/images/joomlart/demo/about.jpg" border="0" alt="Sample Image" />Lorem ipsum dolor sit amet consectetuer ipsum consequat consectetuer laoreet eros. Rhoncus mollis hendrerit quis nunc Vivamus sit hendrerit Nulla dui est. Risus neque sagittis Vestibulum ut felis pretium nibh Sed Phasellus lorem. Accumsan ligula Fusce eros magna tempus nisl elit laoreet congue adipiscing.</p>