Introduction
In this documentation section we are going to explore the Administration Panel of JA Comment. You will find the Administration Panel to be very handy as it provides hints while hovering your mouse over options. In this section we are going to explain more detailed, so we will start presenting the admin dashboard, then we will continue with comments moderation, configuration and we will finish with import/export features.
Some of the administration features are documented within another wiki pages as part of specific processes such as installation and customization.
Admin Dashboard
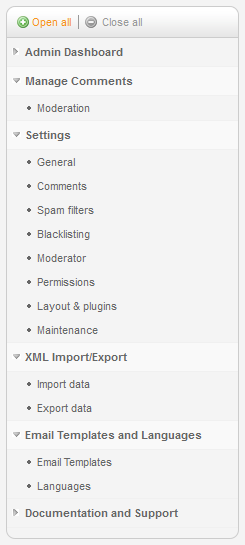
In this section we are going to explore the admin dashboard and also preview the navigation menu. So first this is the main navigation of the JA Comment component that will help you administer the component.
The Statistics tab of the dashboard presents total new comments, comments made today, total comments last 30 days and also total comments.

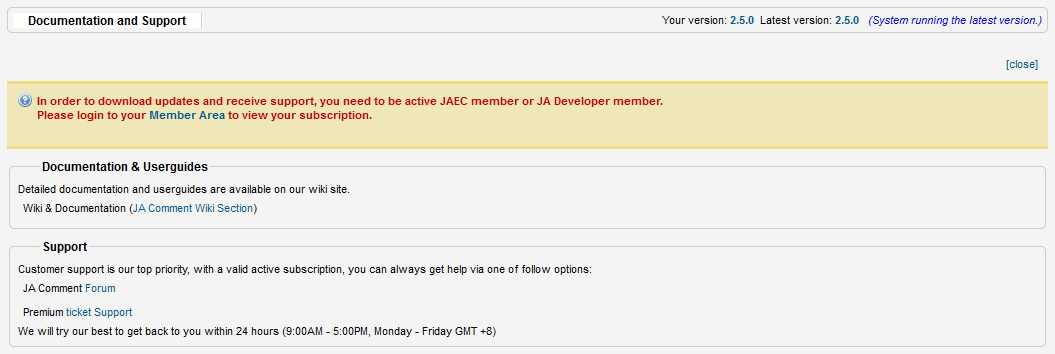
The Documentation and Support tab presents detailed information about how to get support using the component and user guide that available for user in wiki site
Comments Management
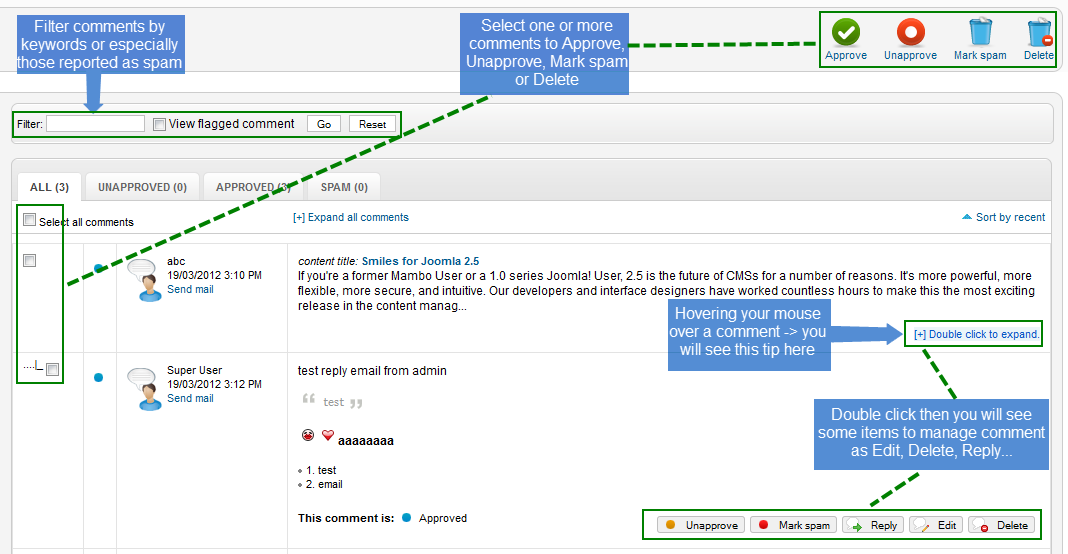
The picture you are going to see presents the moderation panel. There is nothing easier than managing comments!
Settings
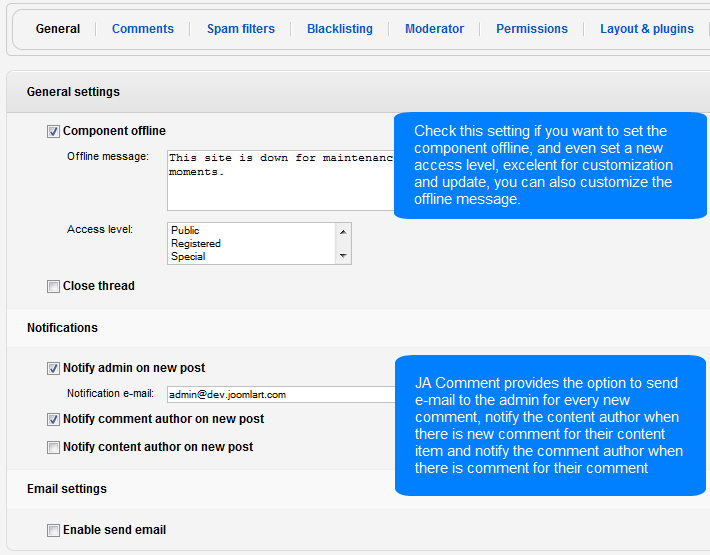
General settings
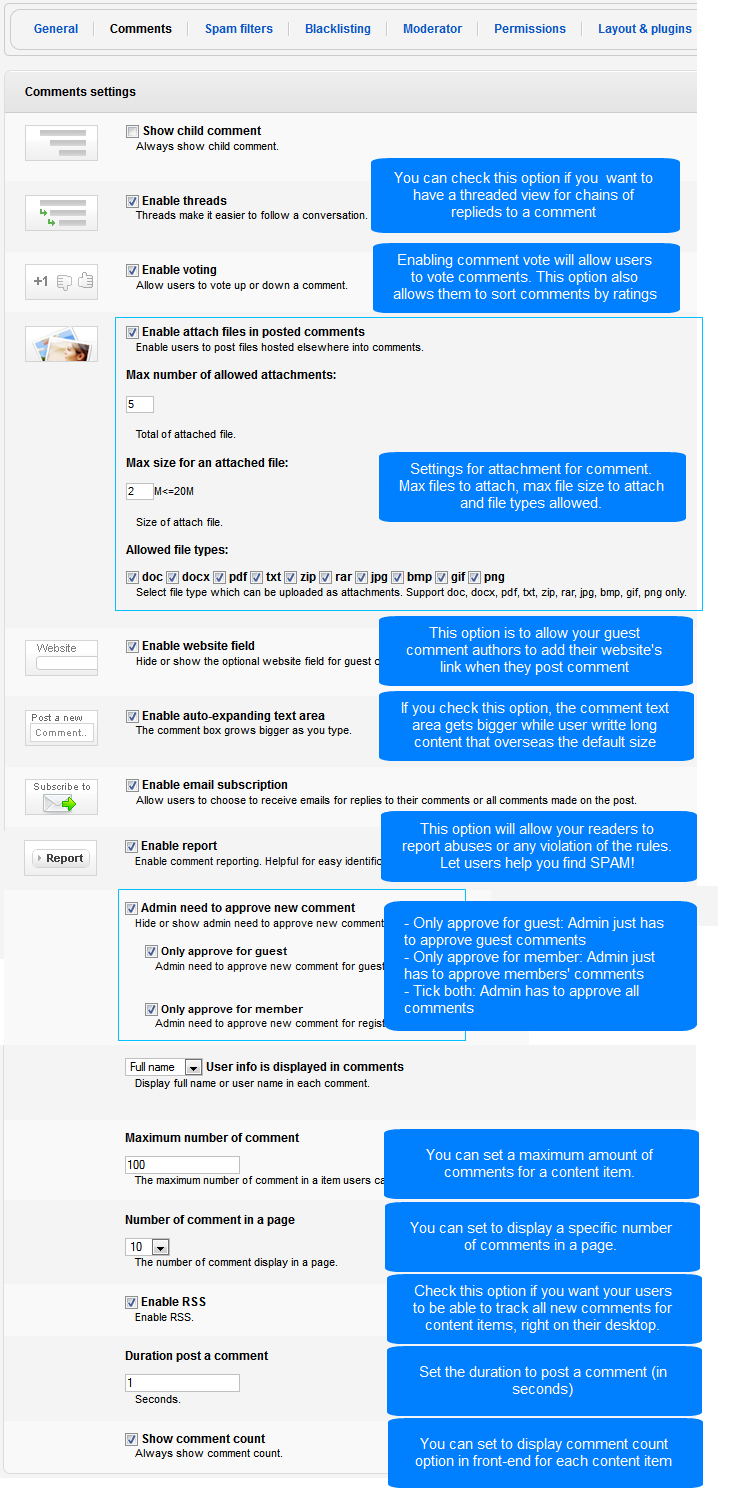
Comment Settings
Spam Filter Settings
Blacklisting Settings
Moderator Management
In this configuration panel you can manage the admins and moderators of your website. You can disable the notice below by clicking Close link above it.
Adding a moderator
This procedure refers to adding moderation rights to an existing user. To add moderation rights for a user, please proceed with the following steps:

In the pop-up window proceed with the following steps:
Deleting a moderator
This procedure does not mean deleting the user from the database, but only remove moderation rights. To remove moderation rights for a user please proceed with the following steps:
Permissions Settings
Layout and Design Settings
Layout
Design
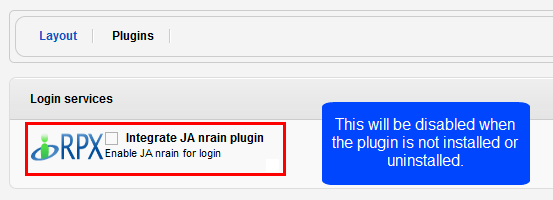
Note: If the JA Nrain plugin is not installed or uninstalled, the setting to enable or disable the plugin is disabled, you can not config the setting.
XML Import and Export
Import

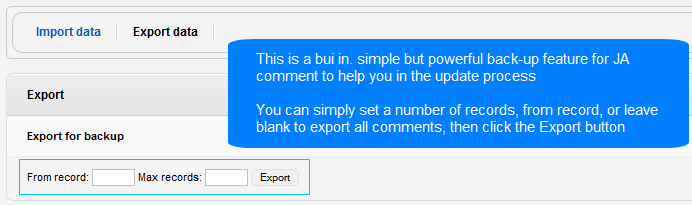
Export
Content Plugin Administration
JA Comment is using 4 plugins for the frontend view:
- Content - provides frontend configuration options we will discuss in the sections below;
- Search - provides search comments functionality for the built in Search Component of the Joomla! CMS;
- System - powers up the frontend view of JA Comment.
- User - the RPXNow plugin powers up the user login with external services such as Google, Facebook and Twitter.
You might want to enable/disable the comment system for some of the Content Categories. You need to enable JA Comment for certain content so in this case you must edit the Content plugin.
Finding the Content Plugin
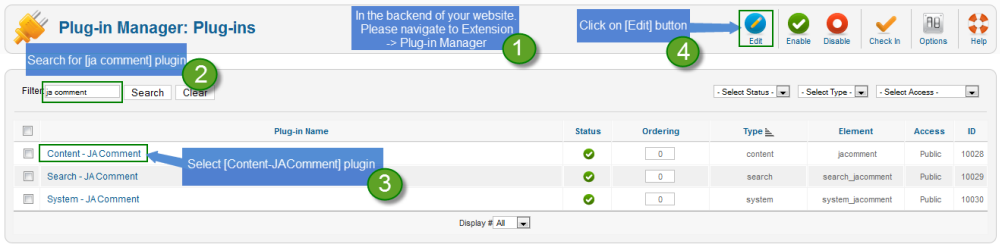
Editing the Content Plugin
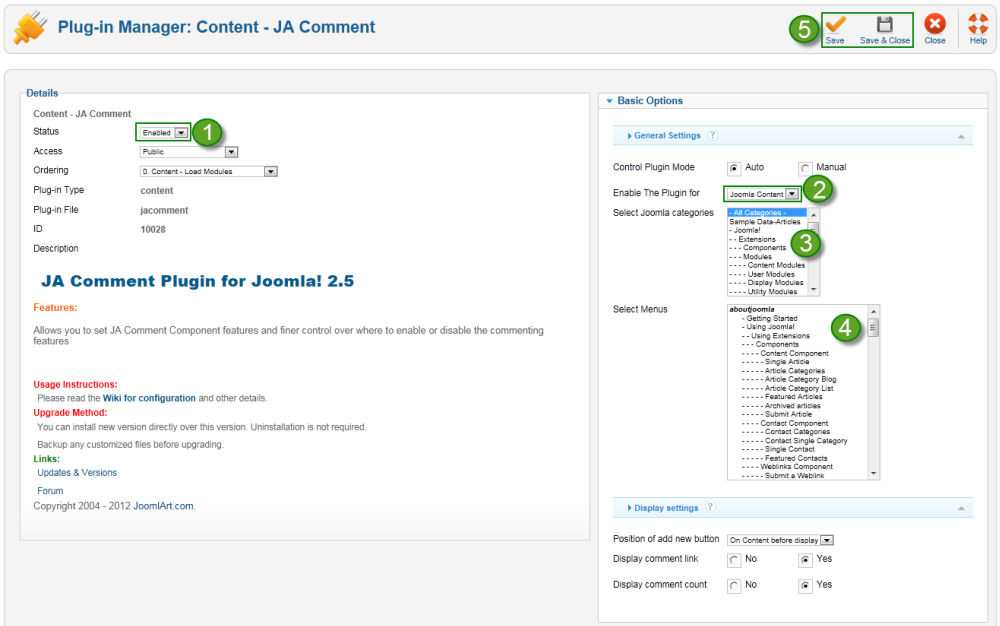
Now we are going to configure the Content - JA Comment plugin. Please follow these instructions for the steps presented in the just above image:
- Step 1 - Make sure your plugin is enabled, so for the Status parameter, you should have selected the Enabled option.
- Step 2 - Select Component to enable JA Commnet
- Step 3 - Select ALL CATEGORIES or select only certain categories you want to enable JA Comment.
Please note that selecting ALL CATEGORIES will enable the comment system for all content articles, including those that are Uncategorized.
- Step 4 - Select menu that JA comment is enabled
- Step 5 - Click the Save/Save & Close button to apply the changes.
JA-nrain plugin administration
Find Janrain plugin
While browsing Joomla! Plugin Manager, please follow these instructions to find and open the plugin to setup the configuration:
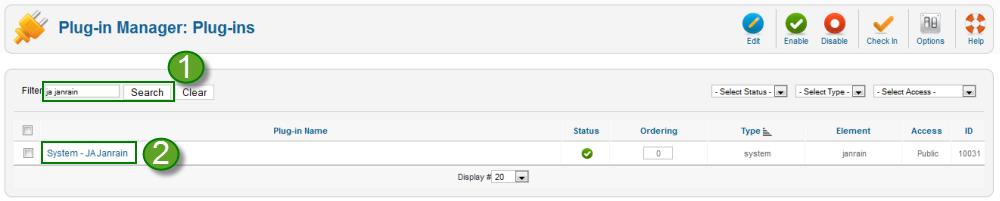
- Step 1 - Type in Janrain and then click the Search button to find the plugin;
- Step 2 - Click the System - JA Janrain link to open plugin administration panel.
Manage settings

- Step 1 - By default this setting is set to Yes and enables the JA Janrain plugin to send and receive user information to/from RPX servers and social networks by using cURL. Setting this setting to No will change the plugin behavior and might cause issues. Click here for more about cURL.
- Step 2 - When users login with external service account, you can enable this option by setting to Yes to automatically register these users.
- Step 3 - By default this is set to Yes and displays the Joomla! Login form, and setting this option to No all settings described in steps 3 - 8 no longer apply.
--Login Interface settings--
- Step 4 - In this text area you can set a message to be shown above the Joomla! login form. This will not affect Joomla! Login Module.
- Step 5 - In this text area you can set a message to be shown below the Joomla! login form.
- Step 6 - Select a menu item for redirection after user is logging out.
- Step 7 - Select Yes if you want your users to receive a greeting on login.
- Step 8 - Select Name or Username to be used for the greeting.
- Step 9 - Select Yes if you want the login/logout queries to be encrypted.
--Rpx Settings--
- Step 10 - To setup your RPX Key, you need to login / sign up for a new account here.