System Requirement
Before installation, please make sure your system meets the following requirements:
Software
- Software: PHP (Magic Quotes GPC off): 5.3.1 + (5.4+ recommended)
Databases
- MySQL(InnoDB support required): 5.1+
- MSSQL 10.50.1600.1+
- PostgreSQL 8.3.18+
Web Severs
- Apache 2.x+
- Microsoft IIS 7
- Nginx 1.0 (1.1 recommended)
Browser requirement
- Firefox 4+
- IE (Internet Explorer) 8+
- Google Chrome 10+
- Opera 10+
- Safari 5+
Development Environment
During development process, Localhost is preferred. You can use the following servers on your PC to develop your site.
Windows
- WAMPSEVER
- XAMPP for Windows
Linux
- LAMP Bubdle
- XAMPP for Linux
Mac OS
- MAMP & MAMP Pro
- XAMPP for Mac OS
Joomla installation - full package
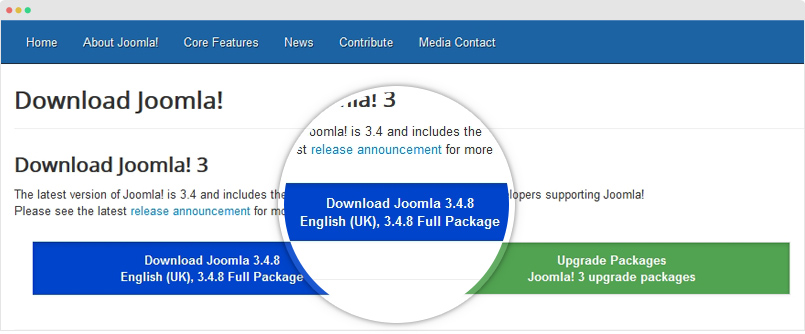
Download Joomla 3 full package
Access the Joomla download page and download the latest version - full package.
Installation
1. Extract and Upload
If you install in your localhost
If you install the quickstart in your localhost, copy the extracted folder to: \wamp\www (if you are using WAMP) and \xampp\htdocs (in you are using XAMPP)
If you install from your hosting
If you want to install the quickstart from your hosting, please upload all folders in the folder that you just extracted to the FTP Base folder (normally it is public_html).

Step 1 - Create database: access your database control panel to create new database. When access the databse control panel, create a new database

After creating database, copy the database name to add to the Quickstart Installation Wizard
Step 2 - Configuration: access the site address and follow the installation Wizard.

Parameter Explanation:
- Select Language: as Joomla supports many languages, select the language that you want your website to be. Select your language for easy management.
- Site Name: enter your site name to the field.
- Admin Email: add the email of Administrator, you configure to send the configuration detail to the email.
- Admin Username: add the username of the Admin, this is the username to login the back-end panel as Super user so make user you remember the username.
- Admin Password: enter the password for the admin account.
- Confirm Admin Password: retype the admin password to confirm.
Step 3 - Database config: select database type, host name, database username, password, database name & table prefix
Step 4 - Sample data installation: select sample data to install, there are multiple sample data options, select "None" if you want to have fresh installation (without demo content).

Step 5 - Multilingual setup (optional): You can install multilingual in the step.

Step 6 - Remove/Rename "installation" folder: for security purpose, you need to rename or remove the "installation" folder

The installation is done, you can start updating content for your site.
Joomla Template installation
Templates is to help determine the layout, style or look and feel of a site. Check out list of wide range topics Joomla templates.
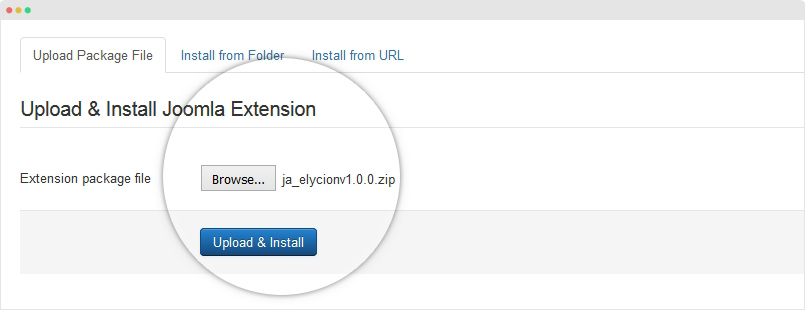
Step 1 - Install template
From your back-end setting panel, go to: "Extensions → Extension Manager", browse template installation file then hit the "Upload and Install"
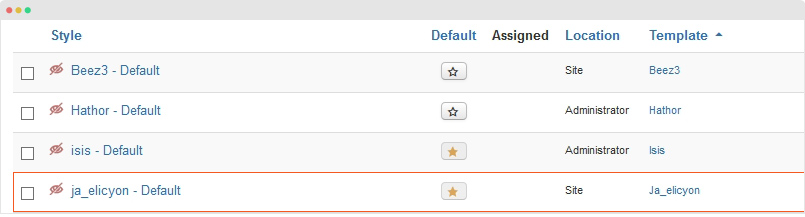
Step 2 - Set default template style
Go to: "Extensions → Template Manager", set the template style as your default template style.
Step 3 - Duplicate Joomla template
Template style is a feature introduced in Joomla 2.5 that allows users to assign different template styles to individual menu items. By default, Joomla! assigns a template style to all menu items upon installation. A yellow star indicates the default template style in use. A default template style can be partially or completely overridden by assigning different template styles to the desired menu items in order to obtain a different look for their respective pages.
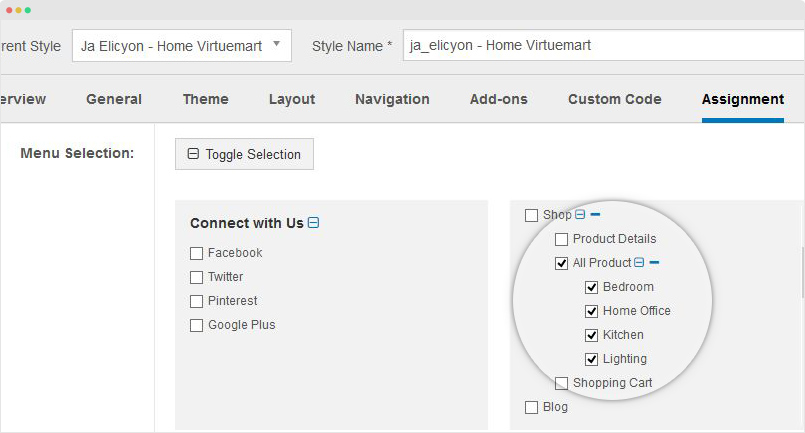
A template style can be assigned to menu items one of two ways.
#1. Template manager Extensions → Template Manager, open setting panel of the template style, in the Assignment tab, select menu items you want to apply the template style for.
#2. Editing a menu item under Menus → Menu Name → Menu item

Joomla Extensions installation
Joomla installation process is the same with Joomla template installation.
From your site back-end, go to: Extension > Extension Manager, there are multiple options to install an extension.
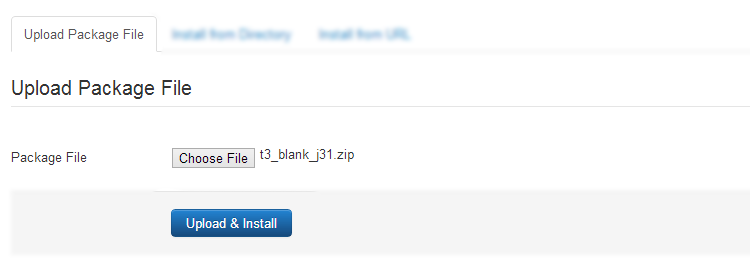
Option 1: Upload package file
With the option, you will need the installation file of the extension downloaded to your PC, browse .zip file of the extension then hit the button "Upload & Install".
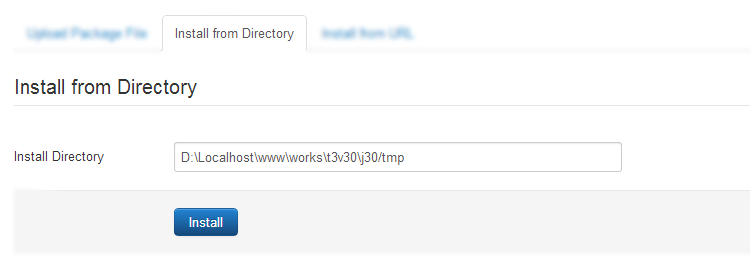
Option 2: Install from Directory
Add path of the extension installation file in your PC and install.
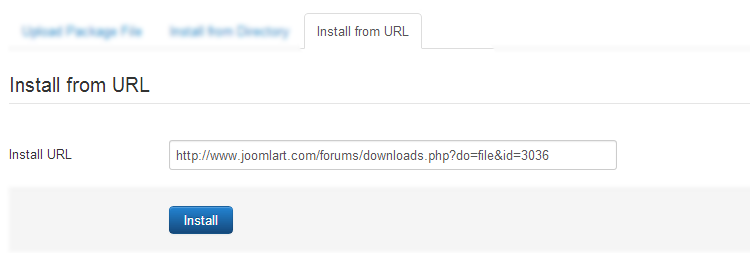
Option 3: Install from URL
Add direct download link of the extension and install (the direct download link does not require permission to download).
Joomla has 5 extension types: Template, Component, Module, Plugin and Language. The installation process is all the same.
Joomla Update Instruction
Take a full backup
Please always make a back-up before proceeding to any of the Update process. In case there is any problem, you can always restore from the back-up files.
1. Update Joomla core
Once there is new version, you will see notification of the new version. To update new version, go to: Components >> Joomla Update, select Installation method then do upgarde.

2. Update Extensions
Each extension could have different update process depending on the extension developer. Some extension provide the update ability via the extension configuration. You should always check the update documentation of the extension to make sure the process is correct.