Introduction
The responsive Joomla template for Social - JA Social is now compatible with the latest version T3 Framework, JomSocial, EasyBlog component, RTL language layout, K2, Kunena, ThemeMagic and so on. This template is available for both Joomla 2.5 and Joomla 3 version, a great start for your Joomla Social site.
1. Main Features
- Filter Tag Cloud (For Joomla 3 only)
- Developed with T3 Framework
- Supports Joomla 2.5 and Joomla 3
- Number of default Joomla pages supported
- Supports Mega Menu
- Supports multiple themes and layouts
- Supports RTL language
2. JA Extensions Supported
- JA Slideshow Module
- JA Facebook Activity Module
- JA Facebook Likebox Module
- JA Twitter Module
- JA Toppanel Module
- JA Login Module
- JA Typo Plugin
- JA Popup Plugin
- JA Disqus Debate Echo Plugin
- JA System Social Plugin
- JA T3 System Plugin
- JA Extension Manager Component
3. Third Party Extensions Supported
- Kunena Component
- K2 Component
- JomSocial Component
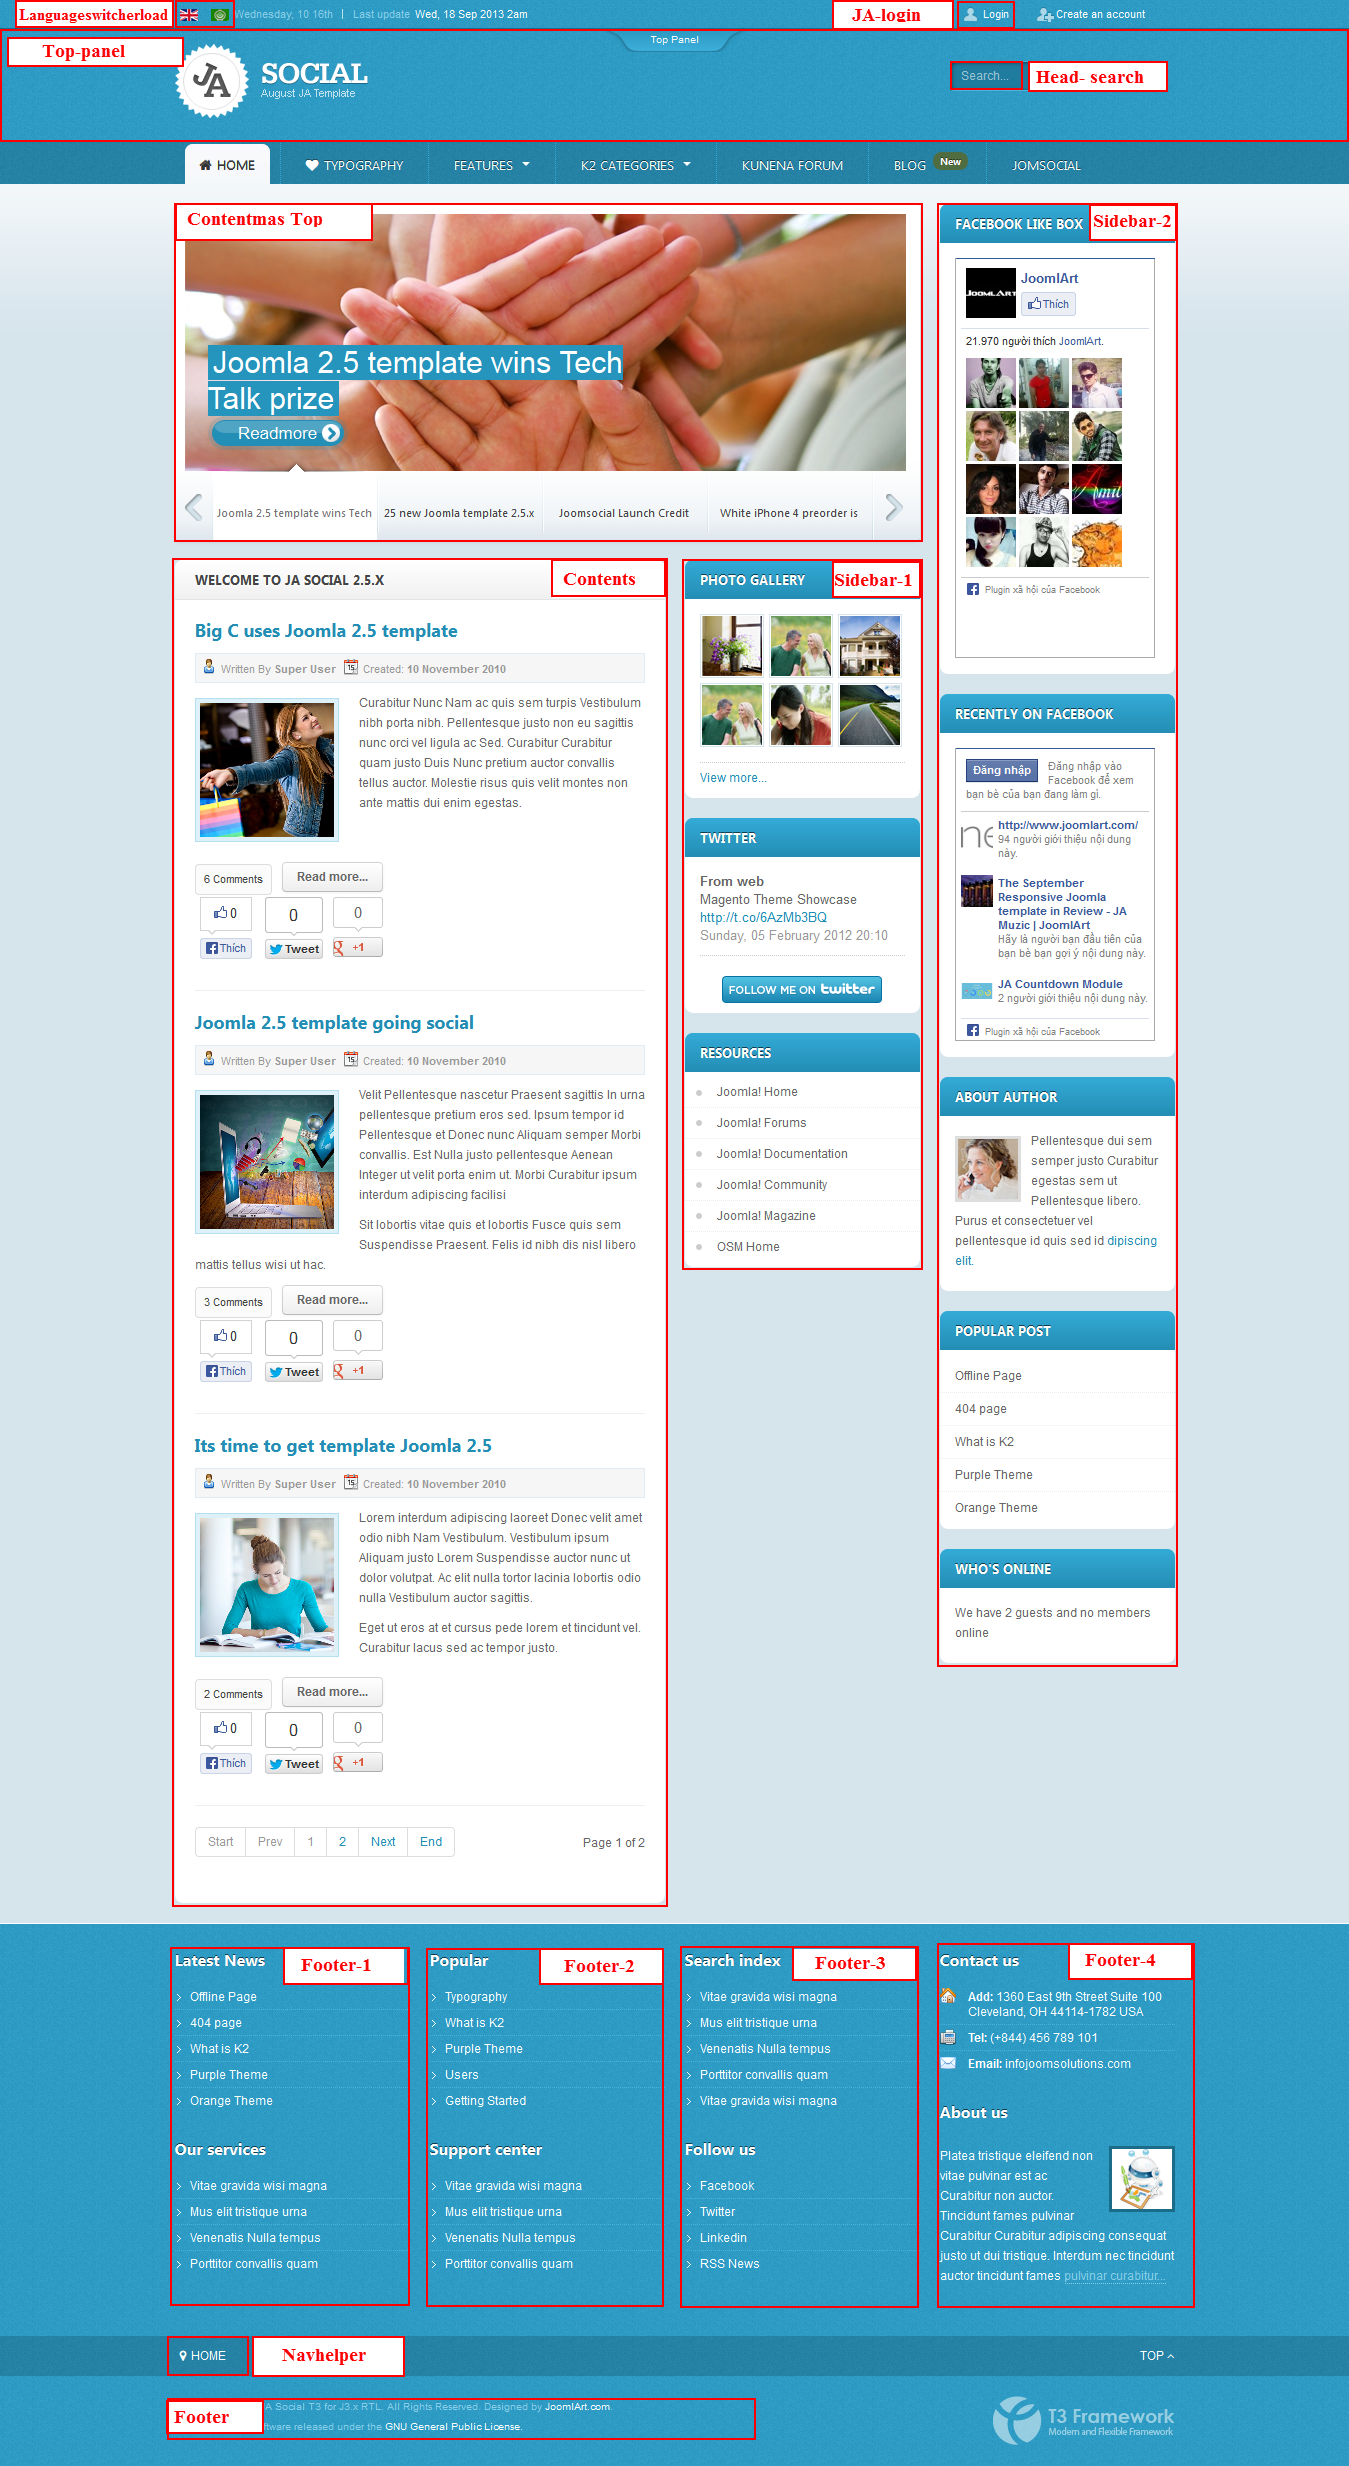
4. Layout and Module Positions
Please refer to the below image for all the structures, layouts as well as module positions in JA Social for its homepage.
System requirement
JA Social is compatible with Joomla 3 and Joomla 2.5. Please make sure your system meets the following requirements:
Joomla 3 System requirement
Software
- Software: PHP (Magic Quotes GPC off): 5.3.1 + (5.4+ recommended)
Databases
- MySQL(InnoDB support required): 5.1+
- MSSQL 10.50.1600.1+
- PostgreSQL 8.3.18+
Web Severs
- Apache 2.x+
- Microsoft IIS 7
- Nginx 1.0 (1.1 recommended)
Joomla 2.5+ system requirement
Software
- Software: PHP 5.2.4+ (5.4+ recommended)
- MySQL: 5.0.4+
Web Sever
- Apache: 2.x+
- Microsoft: IIS 7
- Nginx: 1.0 (1.1 recommended)
Browser requirement
The requirements are the same with both Joomla 2.5 and Joomla 3
- Firefox 4+
- IE (Internet Explorer) 8+
- Google Chrome 10+
- Opera 10+
- Safari 5+
Development Environment
The requirements are the same with both Joomla 2.5 and Joomla 3
During development process, Localhost is preferred. You can use the following servers on your PC to develop your site.
Windows
- WAMPSEVER
- XAMPP for Windows
Linux
- LAMP Bubdle
- XAMPP for Linux
Mac OS
- MAMP & MAMP Pro
- XAMPP for Mac OS
Download & Installation
1. Plan your site Development
- Making a New Site? - If you are planning to make a new site, use our Quickstart package to clone the demo site and replace the demo content with yours. Check How to install Quickstart Package.
- Installing on your live site? - If you are planning to use this template on your existing live-site, read How to make your site look like demo site guide first to learn about the steps involved. Then you can follow the userguide below.
2. Download Template and Extensions
To download JA Social for T3 Framework package, please head over to the Download page.
3. Install Template
If you are new to Joomla installation procedure, please check the following documentation.
Detail documentation4. Install Extensions
We'll be installing JA Social template with the settings as is used on the demo website, other customization should be postponed until you complete the initial setup (including modules & plugins as is on the demo).
If you are new to Joomla installation procedure, please check the following documentation.
Detail DocumentationNote:
Custom HTML Module: These HTML modules are styled to match the template design. We style (CSS) those modules using different div classes. You should check the recommended HTML markup which we also provided in this user-guide if you wish to further customize this module and get them display correctly in the template.
Extensions Configuration
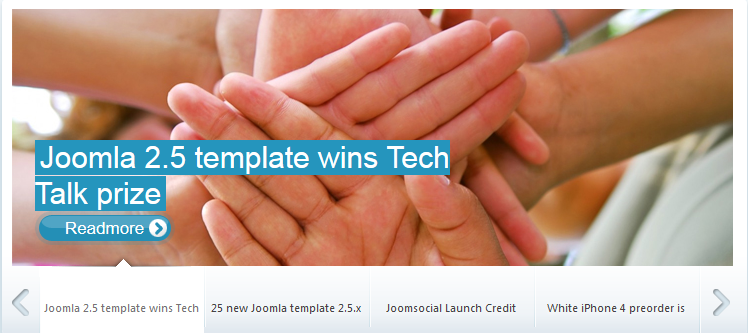
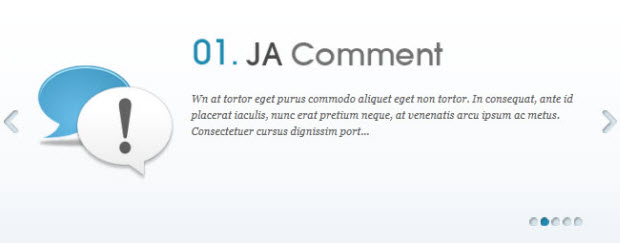
1. Slideshow module displayed on Homepage
Module Position : content-mass-top
Module Suffix : style2
Page assignment: Home page
Front-end Appearance
For more detail, please check the documentation of the module.
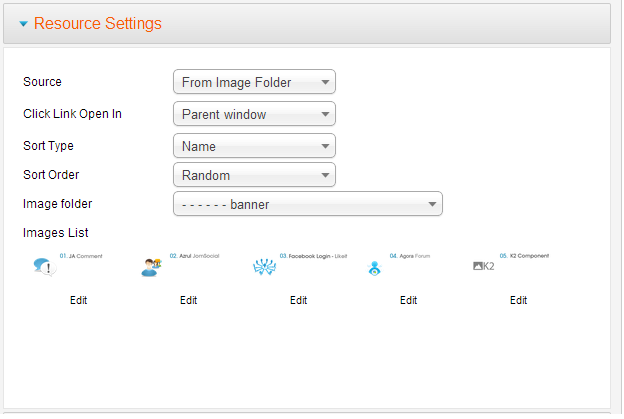
Detail documentation2. JA Slideshow Module displayed in the Blog page
Module Position : slideshow
Module Suffix : NOT USED
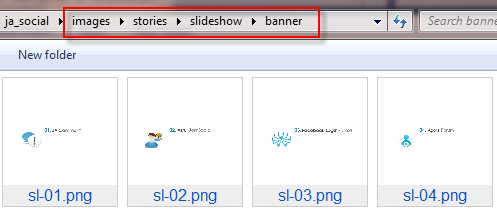
Create the slideshow image directory
Go to yoursite\images\stories\slideshow folder then create the "banner" folder directory (as we used on Demo). Copy all the images that you would like to use for the slideshow here.
The slideshow images dimensions should be 940x360 pixels.
Front-end Appearance
For more detail, please check the documentation of the module.
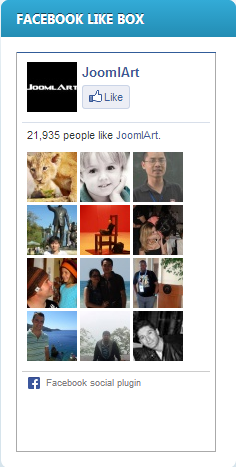
Detail documentation3. JA Facebook like box Module
On our demo, we name this module as FaceBook Like Box.
Module Position : right
Module Suffix : _facebook
Front-end Appearance
For more detail, please check the documentation of the module.
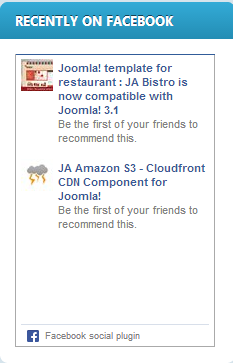
Detail documentation4. JA Facebook Activity Module
On our demo, we name this module as Recently on FaceBook.
Module Position : sidebar-2
Module Suffix : NOT USED
Front-end Appearance
For more detail, please check the documentation of the module.
Detail documentation5. JA Twitter Module
On our demo, we name this module as Twitter.
Module Position : sidebar-1
Module Suffix : NOT USED
Front-end Appearance

For more detail, please check the documentation of the module.
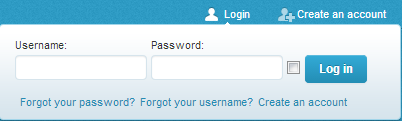
Detail documentation6. JA Login
On our demo, we name this module as Login.
Module Position : ja-login
Module Suffix : NOT USED
Front-end Appearance
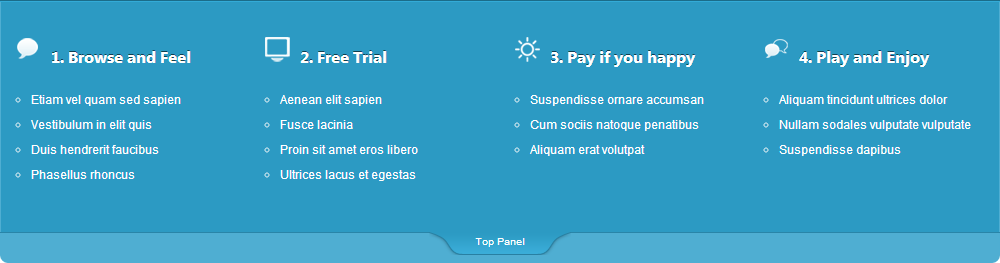
7. JA Top Panel Module
On our demo, we name this module as Top Panel.
Module Position : top-panel
Module Suffix : NOT USED
Front-end Appearance
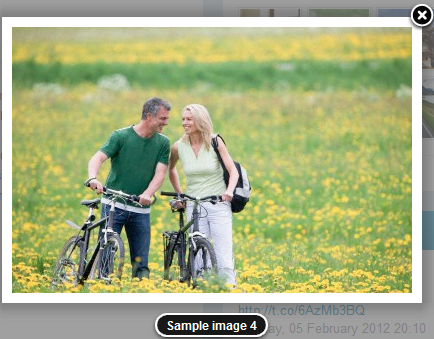
8. JA Popup Plugin
Front-end Appearance
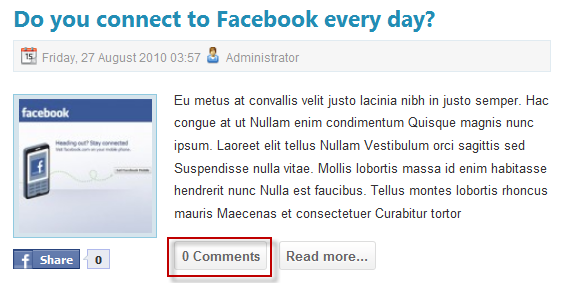
9. JA Disqus Plugin
Front-end Appearance
10. JA Typo Plugin
This plugin allows you to add a variety of typo to your article. Once it is installed, you should enable the plugin in order to use it. Once you open the article you would like to add the typo to (in the back-end), you'll see the JA Typo button. Click on this JA Typo button and then select the typo type as you wish.
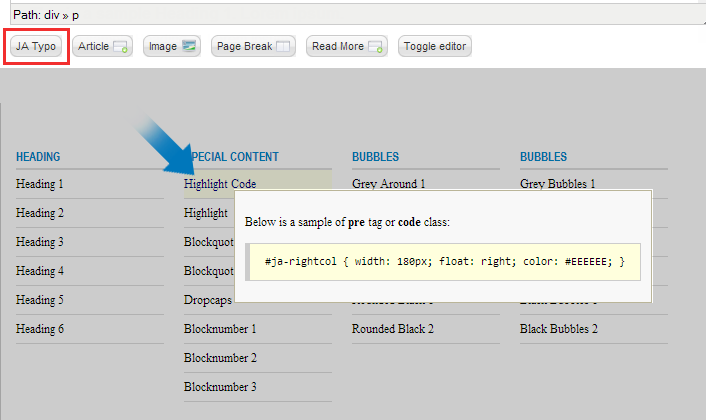
Front-end Appearance

Joomla Default Modules
1. Search Module
Module Position : head-search
Module Suffix : NOT USED
Front-end Appearance

2. Who's online Module
Module Position : sidebar-2
Module title: Who's Online
Module Suffix : Not USED
Front-end Appearance

3. Footer Module
Module Position : footer
Module Suffix : NOT USED
Front-end Appearance

5. Latest News
Module Position : footer-1
Module Suffix : Not USED
Front-end Appearance
6. Popular
Module Position : footer-2
Module Suffix : Not USED
Front-end Appearance
7. Resources
Module Position : sidebar-1
Module Suffix :  _menu
Front-end Appearance
Custom HTML Modules
If you are not sure how to use the Custom HTML Modules or how to access the HTML Editor, please Read this Guide.
Below are the HTML Codes (markup) which you should treat them as the references. You should replicate it exactly as it is, and then change the content as you would like it to be. Remember, these HTML code have the special div classes, which are required to display as how it is on the demo.
1. About Us
Module Position : footer-4
Module Suffix : NOT USED
HTML Code:
<p><img class="img-border" src="images/stories/demo/robot.png" border="0" alt="Robot" align="right" /></p>
<p>Platea tristique eleifend non vitae pulvinar est ac Curabitur non auctor. Tincidunt fames pulvinar Curabitur Curabitur adipiscing consequat justo ut dui tristique. Interdum nec tincidunt auctor tincidunt fames <a href="#" title="Sample link">pulvinar curabitur...</a></p>
- Back-end Settings
- Front-end Appearance
2. Search index
Module Position : footer-3
Module Suffix : NOT USED
HTML Code:
<ul>
<li><a href="#" title="Sample link">Vitae gravida wisi magna</a></li>
<li><a href="#" title="Sample link">Mus elit tristique urna</a></li>
<li><a href="#" title="Sample link">Venenatis Nulla tempus</a></li>
<li><a href="#" title="Sample link">Porttitor convallis quam</a></li>
<li><a href="#" title="Sample link">Vitae gravida wisi magna</a></li>
</ul>
- Back-end Settings
- Front-end Appearance
3. Our Services
Module Position : footer-1
Module Suffix : NOT USED
HTML Code:
<ul>
<li><a href="#" title="Sample link">Vitae gravida wisi magna</a></li>
<li><a href="#" title="Sample link">Mus elit tristique urna</a></li>
<li><a href="#" title="Sample link">Venenatis Nulla tempus</a></li>
<li><a href="#" title="Sample link">Porttitor convallis quam</a></li>
</ul>
- Back-end Settings
- Front-end Appearance
4. Follow Us
Module Position : footer-3
Module Suffix : NOT USED
HTML Code:
<ul class="social-list">
<li class="ja-facebook"><a href="#" title="Sample link">Facebook</a></li>
<li class="ja-twitter"><a href="#" title="Sample link">Twitter</a></li>
<li class="ja-linkedin"><a href="#" title="Sample link">Linkedin</a></li>
<li class="ja-rss"><a href="#" title="Sample link">RSS News</a></li>
</ul>
- Back-end Settings
- Front-end Appearance

5. Contact Us
Module Position : footer-4
Module Suffix : NOT USED
HTML Code:
<ul class="contact-list">
<li class="add"><strong>Add: </strong> 1360 East 9th Street Suite 100 <br /> Cleveland, OH 44114-1782 USA</li>
<li class="tel"><strong>Tel: </strong>(+844) 456 789 101</li>
<li class="email"><strong>Email: </strong> infojoomsolutions.com</li>
</ul>
- Back-end Settings
- Front-end Appearance

6. Support Center
Module Position : footer-2
Module Suffix : NOT USED
HTML Code:
<ul>
<li><a href="#" title="Sample link">Vitae gravida wisi magna</a></li>
<li><a href="#" title="Sample link">Mus elit tristique urna</a></li>
<li><a href="#" title="Sample link">Venenatis Nulla tempus</a></li>
<li><a href="#" title="Sample link">Porttitor convallis quam</a></li>
</ul>
- Back-end Settings
- Front-end Appearance
7. Browse & Feel
Module Position : top-panel-module
Module Suffix : _discussion
HTML Code:
<ul>
<li><a href="#">Etiam vel quam sed sapien</a></li>
<li><a href="#">Vestibulum in elit quis</a></li>
<li><a href="#">Duis hendrerit faucibus</a></li>
<li><a href="#">Phasellus rhoncus</a></li>
</ul>
- Back-end Settings
- Front-end Appearance
8. Free Trial
Module Position : top-panel-module
Module Suffix : _blogs
HTML Code:
<ul>
<li><a href="#">Aenean elit sapien</a></li>
<li><a href="#">Fusce lacinia</a></li>
<li><a href="#">Proin sit amet eros libero</a></li>
<li><a href="#">Ultrices lacus et egestas</a></li>
</ul>
- Back-end Settings
- Front-end Appearance
9. Pay if you happy
Module Position : top-panel-module
Module Suffix : _opinion
HTML Code:
<ul>
<li><a href="#">Suspendisse ornare accumsan</a></li>
<li><a href="#">Cum sociis natoque penatibus</a></li>
<li><a href="#">Aliquam erat volutpat</a></li>
</ul>
- Back-end Settings
- Front-end Appearance
10. Play and Enjoy
Module Position : top-panel-module
Module Suffix : _communication
HTML Code:
<ul>
<li><a href="#">Aliquam tincidunt ultrices dolor</a></li>
<li><a href="#">Nullam sodales vulputate vulputate</a></li>
<li><a href="#">Suspendisse dapibus</a></li>
</ul>
- Back-end Settings
- Front-end Appearance
11. Photo Gallery
Module Position : sidebar-1
Module Suffix : _communication
HTML Code:
<div class="clearfix">
<div class="small-gallery first-item">{japopup type="image" title="Sample image 1" content="images/stories/gallery/gl-1.jpg" }<img class="img-border" src="images/stories/gallery/gl-1-thumb.jpg" border="0" alt="Sample image" />{/japopup}</div>
<div class="small-gallery">{japopup type="image" title="Sample image 2" content="images/stories/gallery/gl-2.jpg" }<img class="img-border" src="images/stories/gallery/gl-2-thumb.jpg" border="0" alt="Sample image" />{/japopup}</div>
<div class="small-gallery last-item">{japopup type="image" title="Sample image 3" content="images/stories/gallery/gl-4.jpg" }<img class="img-border" src="images/stories/gallery/gl-4-thumb.jpg" border="0" alt="Sample image" />{/japopup}</div>
<div class="small-gallery first-item">{japopup type="image" title="Sample image 4" content="images/stories/gallery/gl-2.jpg" }<img class="img-border" src="images/stories/gallery/gl-2-thumb.jpg" border="0" alt="Sample image" />{/japopup}</div>
<div class="small-gallery">{japopup type="image" title="Sample image 5" content="images/stories/gallery/gl-5.jpg" }<img class="img-border" src="images/stories/gallery/gl-5-thumb.jpg" border="0" alt="Sample image" />{/japopup}</div>
<div class="small-gallery last-item">{japopup type="image" title="Sample image 6" content="images/stories/gallery/gl-6.jpg" }<img class="img-border" src="images/stories/gallery/gl-6-thumb.jpg" border="0" alt="Sample image" />{/japopup}</div>
</div>
<div style="border-top: 1px dotted #ccc; margin-top: 10px; padding: 5px 0 0;"><a href="#" title="more">View more...</a></div>
- Back-end Settings
- Front-end Appearance
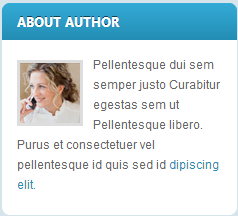
12. About Author
Module Position : sidebar-2
Module Suffix : NOT USED
HTML Code:
<p><img class="img-border" src="images/stories/demo/author.jpg" border="0" alt="Author" align="left" style="margin: 5px 10px 0 0; border: 3px solid #ddd;" /> Pellentesque dui sem semper justo Curabitur egestas sem ut Pellentesque libero. Purus et consectetuer vel pellentesque id quis sed id <a href="#" title="Sample link">dipiscing elit.</a></p>
- Back-end Settings
- Front-end Appearance
V. Typography Styles
JA Social comes with multiple typography styles for headings, content, tables, buttons, quotes, lists and so on.
You can view all of them on the Typography Page on the Demo site here.
Here is the HTML code/markup for this Typography page
You can apply the above HTML codes/markup to replicate the same typography style across your site.
Third Party Extensions Configuration
1. Kunena Component
JA Social supports Kunena styles by default. In order to have the Kunena design, you should download the Kunena theme for JA Social, extract the files and add them to your site.
1.1 Install Kunena Forum component
1.2 Configure Kunena Forum Component
Step1: download and extract Kunena theme for JA Social. Then go to the extracted folder: kunena_theme_social_t3.v1.0.0/components/com_kunena/template and copy ja_social folder into components/com_kunena/template folder on your site.
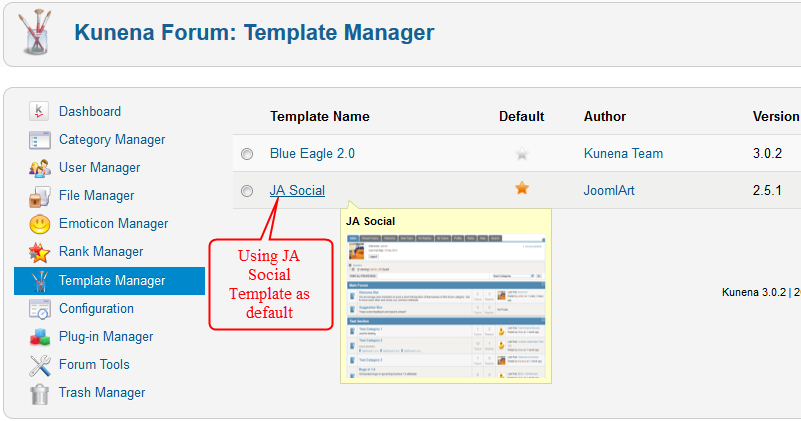
Step 2: Go to Administrator >> Component >> Kunena Forum >> Template Manager, set ja_social template as the default style.
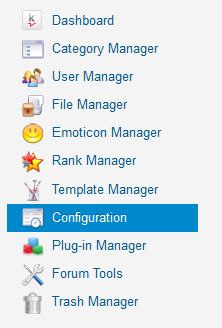
Step 3: To set up the forum as on the Demo site, navigate to Administrator >> Component >> Kunena Forum >> Forum Configuration
Then configure for all the items as below:
- Back-end Settings for General
- Back-end Settings for Frontend
- Back-end Settings for Users
- Back-end Settings for Security
- Back-end Settings for Avatar
- Back-end Settings for Uploads
- Back-end Settings for Ranking
- Back-end Settings for BBCode
- Back-end Settings for RSS
- Back-end Settings for Extra
Step 4: Go to Menu >> Main Menu >> Add New Menu Item: Kunena Forum as below:

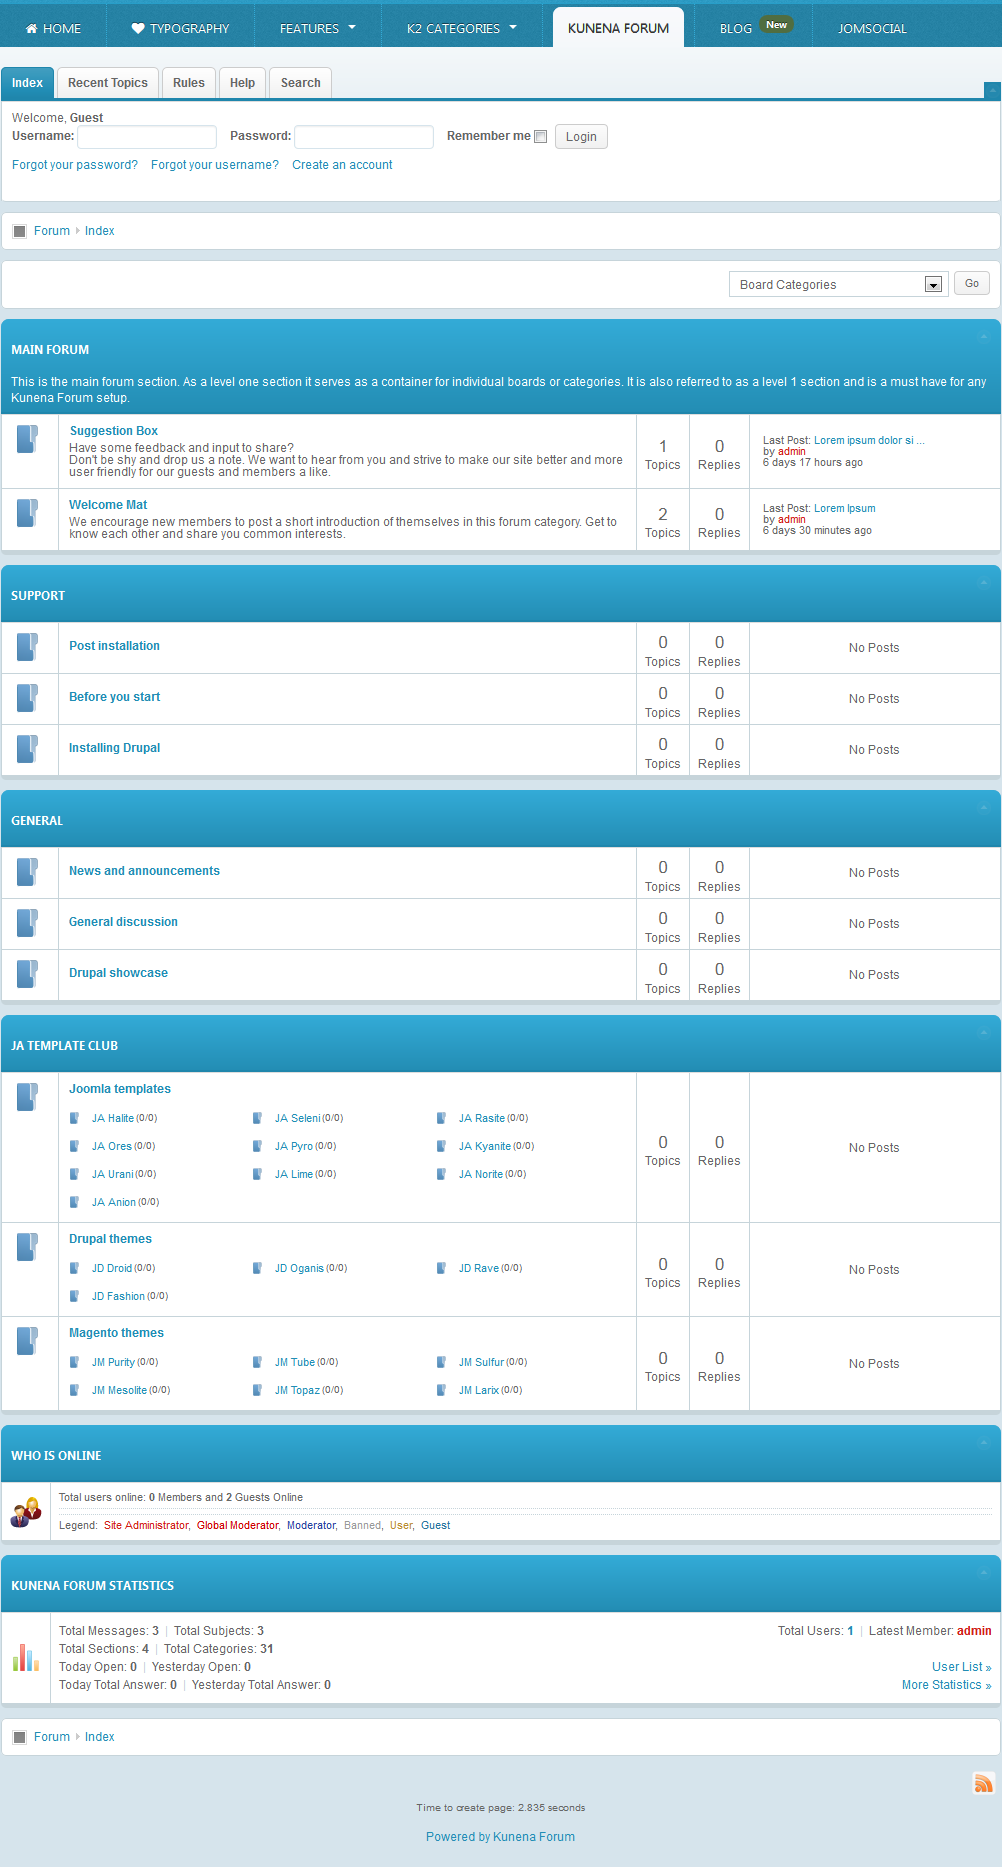
Front-end Appearance
2. K2 Component
2.1 Configure K2 component
If you are new to this Joomla component, please read this guide.
K2 Installation Documentation2.2 Global Configuration: Click on the Parameter button on the right
Back-end Setting
2.3 Category Configuration
Navigate to Administrator >> Component >> K2 >> Categories

In the template, the Categories View category uses ja_erio template.The JA Erio Blog category uses ja_social_blog template.
All Categories view
Social Blog
Accounting jobs Europe
2.3 K2 module configuration
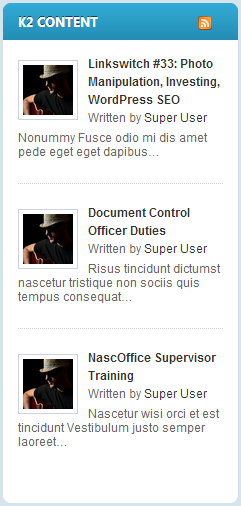
2.3.1 K2 Content Module
Module Position : sidebar-2
Module Suffix : NOT USED
- Back-end Settings
- Front-end Appearance
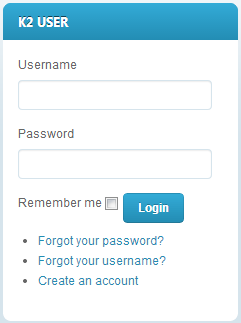
2.3.2 K2 User Module
Module Position : sidebar-2
Module Suffix : NOT USED
- Back-end Settings
- Front-end Appearance
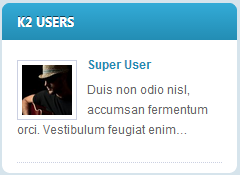
2.3.3 K2 Users Module
Module Position : sidebar-2
Module Suffix : NOT USED
- Back-end Settings
- Front-end Appearance
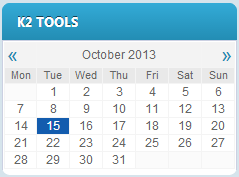
2.3.4 K2 Tool Module
Module Position : sidebar-2
Module Suffix : NOT USED
- Back-end Settings
- Front-end Appearance
3. JomSocial Component
JA Social supports styles for JomSocial by default. In order to apply the Jomsocial design, you should download the JomSocial theme for JA Social, extract all the files and add them to your site.
3.1 Install JomSocial component
3.2 Configure JomSocial component
Step1: To have the same design as on the demo site, you must download and extract Jomsocial theme for JA Social. Then go to the extracted folder: JomSocial_theme_Social_t3.v1.0.0/components/com_Social/template and copy ja_Social folder into components/com_Social/template folder on your site.
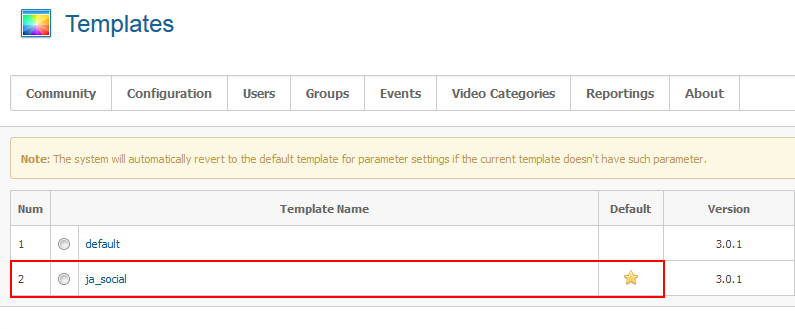
Step 2: Go to Administrator >> Component >> JomSocial >> Template Manager, set ja_social template as the default style.
Step 3: To set up for the forum as on Demo site, navigate to Administrator >> Component >> JomSocial >> Forum Configuration.

Then configure for all the items as below
- Back-end Settings for Site
- Back-end Settings for Media
- Back-end Settings for Groups
- Back-end Settings for Events
- Back-end Settings for Layout
- Back-end Settings for Privacy
- Back-end Settings for FaceBook connect
Step 4: Go to Menu >> Main Menu >> Add New Menu Item: JomSocial as below.
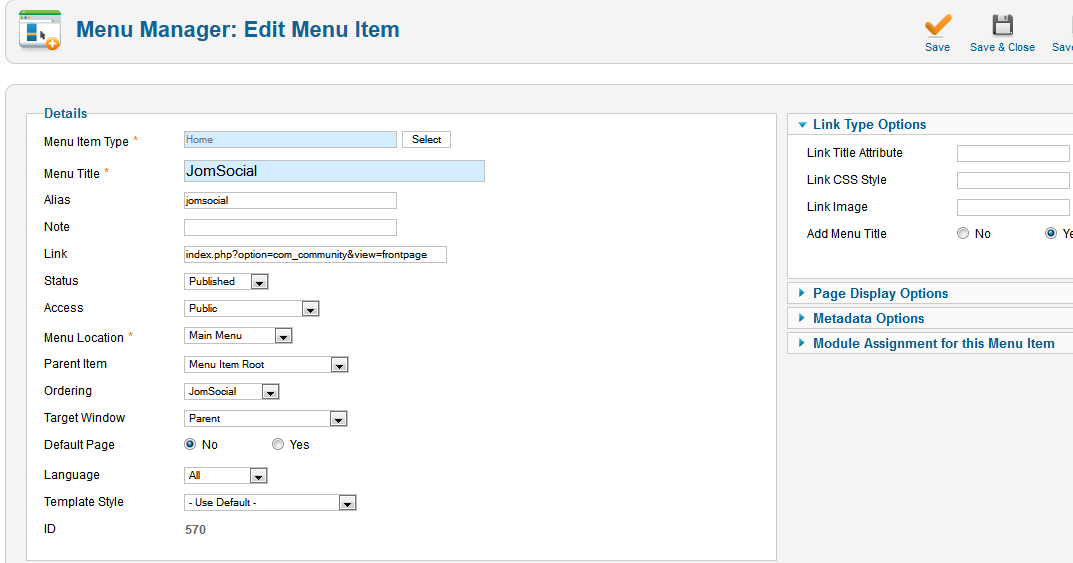
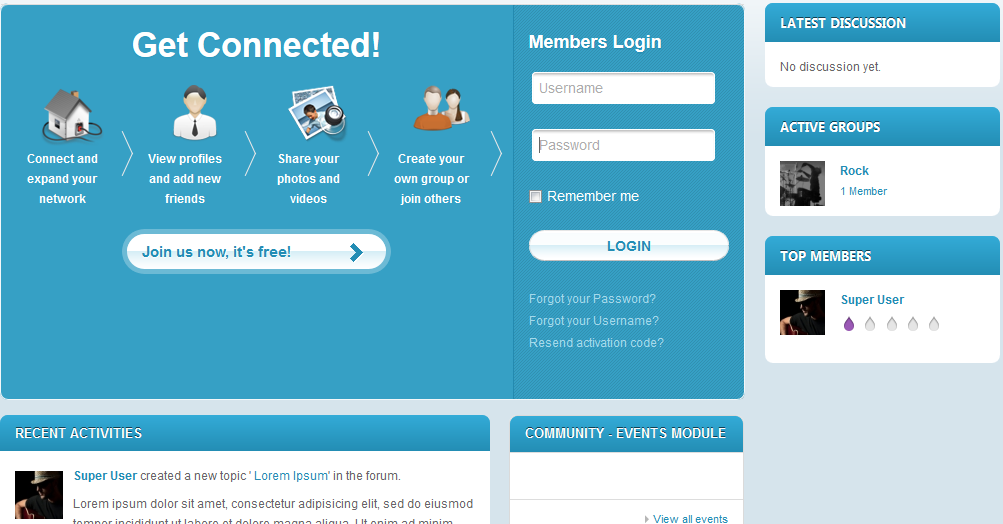
Front-end Appearance
Mega Menu Configuration

1. Menu items Back-end Settings
2. Mega Menu Configuration
Go to Extensions >> Template manager >> JA Social template, in the Navigation setting to configure Mega Menu.
Step 1: Enable Mega Menu

Step 2: Click on the Megamenu button

Step 3: Select the menu to configure

Step 4: Configuration

4. How to create Menu item Tags using Mega Menu
4.1 Create Hot Tag in 404 Page menu
Open Mega Menu page then follow the 3 steps as below:
- Select menu items need to create tag
- Add Extra Class to style Megamenu
- Input item Caption
Then click Save to save all the settings.

Front-end Appearance

4.2 Create New Tag in Blog Menu
Open Mega Menu page >> Select menu items to add tag >> Add Extra Class.

Front-end Appearance

Mega Menu Configuration
This is the video tutorial for Mega Menu configuration, you will learn how to build up a Mega Menu, how to use Mega Menu settings effectively, how to add icons, how to style menu items with our T3 Framework.
Template Customization
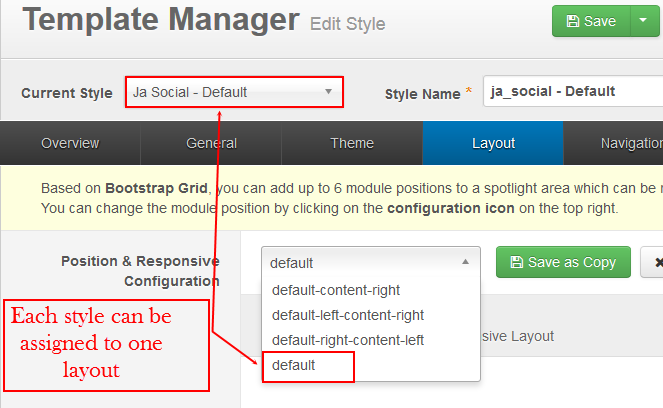
1. Template Override
In short, to override the template, you should clone the template style then edit as you wish. After you're done with developing and styling, assign the cloned style to the specific menus. The assigned menus will then override them in the default style.
Each style can be configured to use one theme and one layout. Thus, you can have menus with different themes and layouts in a single template.
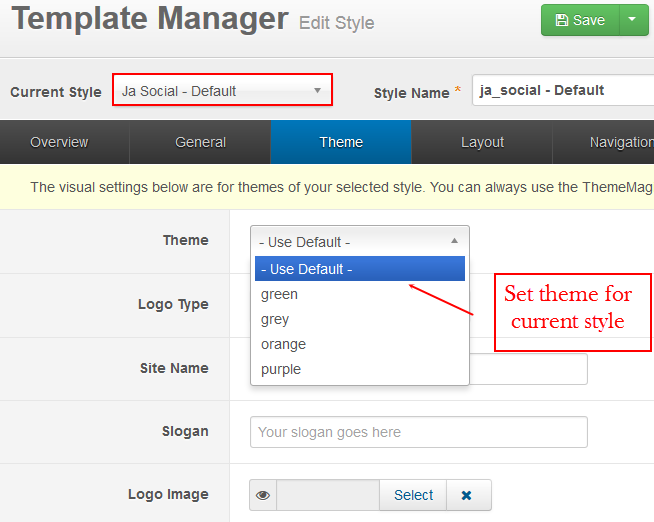
2. Themes Settings
JA Social supports up to 5 themes, the themes are available when you install the JA Social template.
3. Layout Settings
JA Social supports 4 layouts:
The following video tutorials will show you how to work with Layouts: Configure and Customize.
Layout Configuration
T3 comes with ease of layout customization. The visual layout configuration is easier than ever before.
Layout Customization
The video tutorial guides you on how to customize the layouts, add new layout, and customize blocks in a layout.
4. ThemeMagic Settings
JA Social is developed with T3 so you can customize themes with ThemeMagic. To customize themes with this feature, you have to enable this option first.
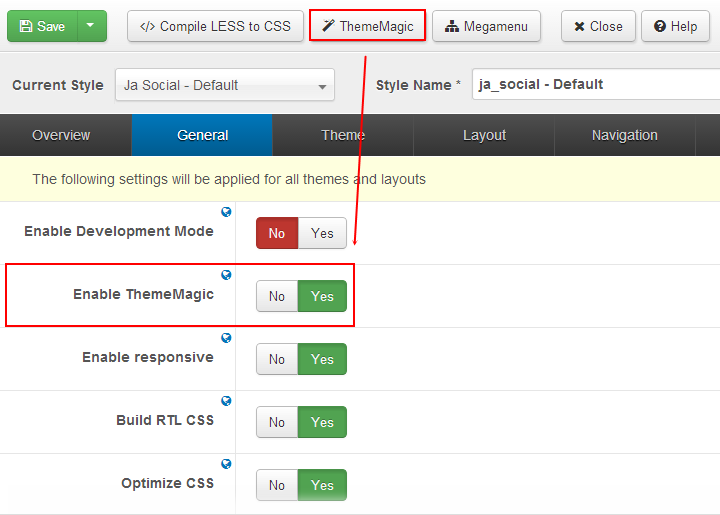
In the setting panel, you can customize all the themes. The left panel is the setting area while the right panel is your site's front-end. Each time you change settings, click on "Preview" button to view the change in front-end on the right panel.
The following video tutorials will show you how to customize themes and customize ThemeMagic.
ThemeMagic Customization
After watching the tutorial, you can be able to customize your theme quickly using ThemeMagic as well as know how to add new group and parameters to ThemeMagic.
Recommendation
The above userguide should help one in replicating the Demo site settings for the template and extension on their site.
Recommended:
If you are new or confused, we recommend installing Quickstart on your localhost and use it as reference for configs. This is the best way to work with any template. Links to all the resources are provided as above, you should read them carefully to take the maximum advantage of our products.
Support:
Please raise your support queries in the forum and make sure you follow the support guidelines. We spend more time on getting the information from user in case the support guidelines are not followed.