System requirement
JA Cloris is compatible with Joomla 3 and Joomla 2.5. Please make sure your system meets the following requirements:
Joomla 3 System requirement
Software
- PHP (Magic Quotes GPC off): 5.3.1 + (5.4+ recommended)
Databases
- MySQL(InnoDB support required): 5.1+
- MSSQL 10.50.1600.1+
- PostgreSQL 8.3.18+
Web Severs
- Apache 2.x+
- Microsoft IIS 7
- Nginx 1.0 (1.1 recommended)
Joomla 2.5+ system requirement
Software
- PHP 5.2.4+ (5.4+ recommended)
- MySQL: 5.0.4+
Web Sever
- Apache: 2.x+
- Microsoft: IIS 7
- Nginx: 1.0 (1.1 recommended)
Browser requirement
The requirements are the same with both Joomla 2.5 and Joomla 3
- Firefox 4+
- IE (Internet Explorer) 8+
- Google Chrome 10+
- Opera 10+
- Safari 5+
Development Environment
The requirements are the same with both Joomla 2.5 and Joomla 3
During development process, Localhost is preferred. You can use the following servers on your PC to develop your site.
Windows
- WAMPSEVER
- XAMPP for Windows
Linux
- LAMP Bubdle
- XAMPP for Linux
Mac OS
- MAMP & MAMP Pro
- XAMPP for Mac OS
Download Template and Extensions
1. Get to Know Your Template:
- Everyone should read the Template's Overview Article! This is a quick and complete overview of the template, from the colors included, to all of the powerful Joomlart complimentary extensions that come with it. You'll also find links to the LIVE Demo Site, the Download area, as well as the Forum where you can ask questions.
- Need Help Getting Around Joomlart.com? We've created a QUICK ACCESS GUIDE to help you become a Joomlart Power User. This is a wonderful reference, full of tips on how to quickly find the template info, demo sites, module position guides and more. We don't want you to miss a thing!
2. Download Template and Extensions:
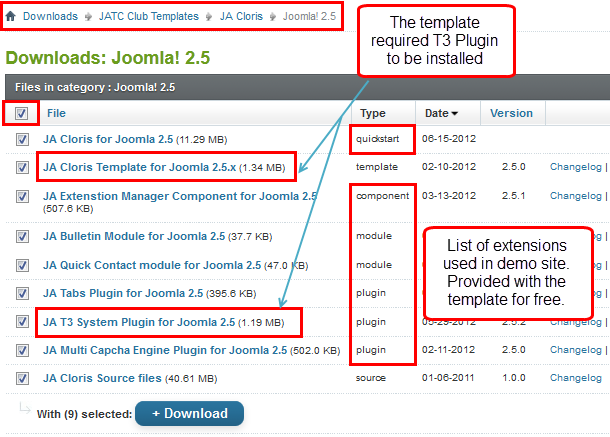
Check download folder for the Quickstart, Template zip and other complimentary extensions zip files.
Plan your site Development
- Making a New Website? - If you are planning to make a new website, then use our Quickstart package to clone the demo site and replace the demo content with yours. Check How to install Quickstart Package.
- Installing on your live site ? - If you are planning to use this template on your already live site, you should follow How to make your site look like demo site guide first to learn about the steps involved. Then you can follow the userguide below.
Installing Template
1. Installing the Template on your Joomla system:
- Browse and Download: Go to Download Folder of JA Cloris and download the Template zip file. Refer to this this screenshot for the overview of the download folder.
- Install the Template: Now install the Template to your Joomla 1.6. Follow This Guide if you are new.
Template Configuration:
JA Cloris template will install with Settings used on the demo site. So you can delay the configuration until you complete the setup (installing the other modules / plugins used on the demo site).
Once you have completed the setup, you can come back to the template back-end and check the various options for customizing your template. Refer to this Universal T3 V2 Back-end Config Guide for options to customize your installed template.
Links to resources on T3 V2 Framework templates and advanced configurations:
- Overview
- Developer Guides
- Customization FAQs
- Mega Menu - A missing menu system for Joomla
- Video Tutorials (works for Joomla 1.5 also)
2. Installing T3 Framework 2 Plugin (T3 system plugin):
Download and install T3 Framework 2 Plugin (aka T3 System plugin), install and enable it.
If you are new, then follow This Guide to learn how to install extension in Joomla.
Installing Extensions
1. Installing complimentary / included extensions and Demo configurations :
- Free Extensions: (aka complimentary / included extensions). We use many extensions on our demo site to provide greater flexibility and features. These are provided for free to our members.
- Custom HTML Module: To match the design of the template, we also style (CSS) for Custom HTML modules using different div classes. You will need to check the HTML codes and make sure to use the recommended HTML markup to get the correct display. We provide the HTML code in this userguide.
Know your Module Positions:
- View Module Position Image (used positions only).
- Use Module Position Overlay in Template (used & empty module positions).
2. Installing and Configuring Included Extensions:
If you are new to Joomla, please follow the guide below
View Detail DocumentationList of extensions used in JA Cloris Template Demo:
- JA Bulletin Module
- JA Quick Contact Module
- JA Tabs Plugin
- JA JA Comment Component (JAEC & JA Developers only)
Extension Configurations
Configurations for Modules / Plugins as used on our Demo Website:
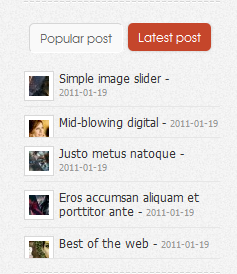
1. JA Bulletin - named as Latest post:
Code:
Module Position : ja-tabs
Module Suffix : NOT USED
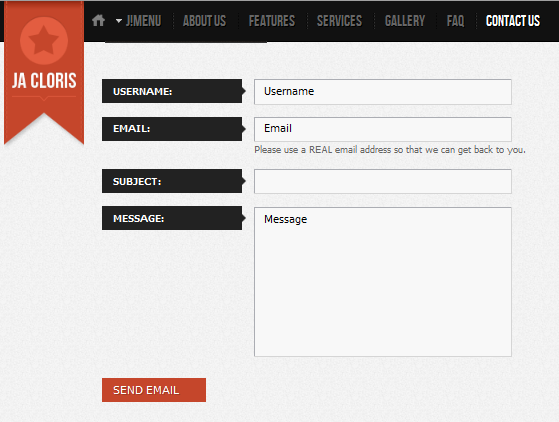
2. JA Quickcontact - named as Contact us:
Code:
Module Position : page8
Module Suffix : NOT USED
3. JA Tabs plugin:

4. JA Comment Component configs (for JAEC and JA Developers only):
4.1. Download and install JA Comment componen for Joomla 1.6.x
- Go to Download Folder of JA Comment component and download .zip file
- Install your component or follow this guide if you are new.
4.2 Configure JA Comment component
JA Comment component includes JA Latest Comment module and JA Comment, JA Comment On button, JA Comment Off button plugins. However, in JA Cloris, we use JA Comment, JA Comment On button, JA Comment Off button plugins.
JA Comment plugin
Custom HTML Modules
JA Cloris has many special pages (special Custom HTML modules). Here after is a guide to help you make your site like our demo.
1. About us:
Code:
Module Position : page1
Module Suffix :  _onepage_light
HTML Code:
<div class="page-wrap">
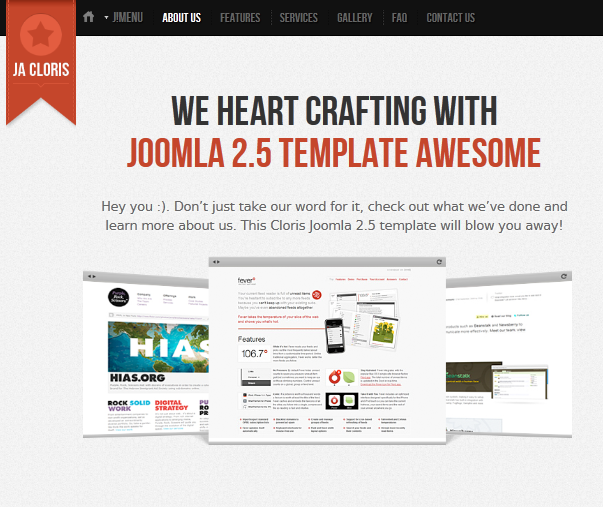
<h3 class="page-title">We heart crafting with <span class="orange">Joomla 2.5 template awesome</span></h3>
<p class="page-intro">Hey you :). Don’t just take our word for it, check out what we’ve done and learn more about us. This Cloris Joomla 2.5 template will blow you away!</p>
<p style="text-align: center:;"><img src="images/stories/demo/introduction.png" border="0" alt="Introduction" /></p>
</div>
Front-end appearance
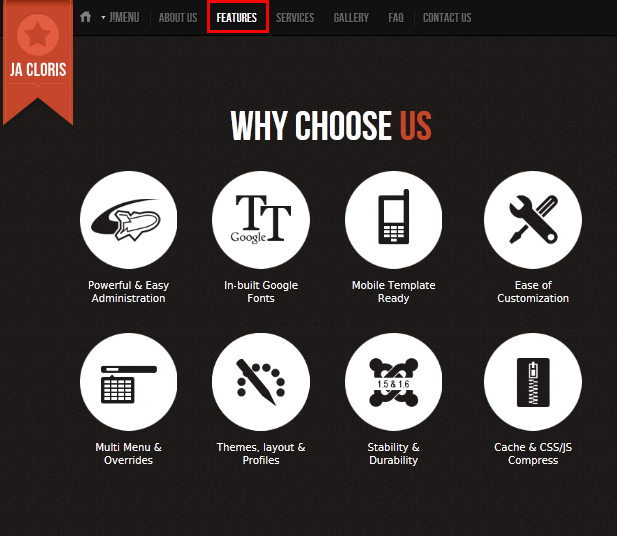
2. Features:
Code:
Module Position : page2
Module Suffix : _onepage_dark
HTML Code:
<div class="page-wrap">
<h3 class="page-title">Why choose <span>Us</span></h3>
<div class="clearfix" style="margin-bottom: 40px;">
<div class="ja-feature-box left"><img src="images/stories/demo/sv-1.png" border="0" alt="alt" />
<p>Powerful & Easy Administration</p>
</div>
<div class="ja-feature-box center"><img src="images/stories/demo/sv-2.png" border="0" alt="alt" />
<p>In-built Google Fonts</p>
</div>
<div class="ja-feature-box center"><img src="images/stories/demo/sv-3.png" border="0" alt="alt" />
<p>Mobile Template Ready</p>
</div>
<div class="ja-feature-box right"><img src="images/stories/demo/sv-4.png" border="0" alt="alt" />
<p>Ease of Customization</p>
</div>
</div>
<div class="clearfix">
<div class="ja-feature-box left"><img src="images/stories/demo/sv-5.png" border="0" alt="Multi Menu & Overrides" />
<p>Multi Menu & Overrides</p>
</div>
<div class="ja-feature-box center"><img src="images/stories/demo/sv-6.png" border="0" alt="Themes, layout & Profiles" />
<p>Themes, layout & Profiles</p>
</div>
<div class="ja-feature-box center"><img src="images/stories/demo/sv-7.png" border="0" alt="Stability & Durability" />
<p>Stability & Durability</p>
</div>
<div class="ja-feature-box right"><img src="images/stories/demo/sv-8.png" border="0" alt="Cache & CSS/JS Compress" />
<p>Cache & CSS/JS Compress</p>
</div>
</div>
</div>
Front-end appearance
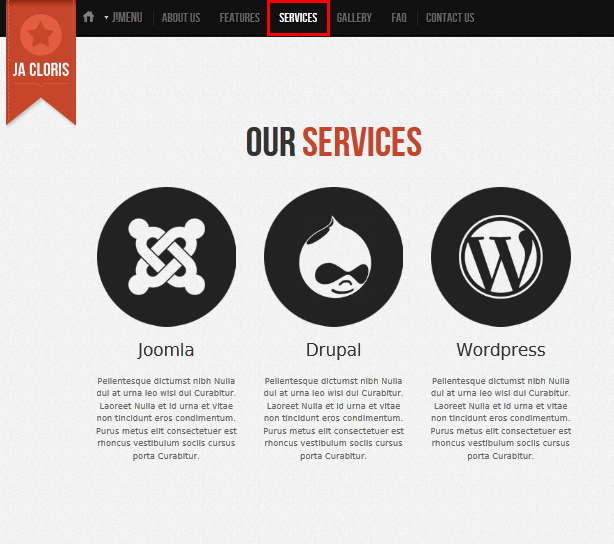
3. Services:
Code:
Module Position : page3
Module Suffix : _onepage_light
HTML Code:
<div class="page-wrap">

<h3 class="page-title">Our <span class="orange">Services</span></h3>

<div class="col-intro col-left">

<div class="inner"><img src="images/stories/demo/joomla-logo.png" border="0" alt="Joomla" />

<h4>Joomla</h4>

<p>Pellentesque dictumst nibh Nulla dui at urna leo wisi dui Curabitur. Laoreet Nulla et id urna et vitae non tincidunt eros condimentum. Purus metus elit consectetuer est rhoncus vestibulum sociis cursus porta Curabitur.</p>

</div>

</div>

<div class="col-intro col-center">

<div class="inner"><img src="images/stories/demo/drupal-logo.png" border="0" alt="Drupal" />

<h4>Drupal</h4>

<p>Pellentesque dictumst nibh Nulla dui at urna leo wisi dui Curabitur. Laoreet Nulla et id urna et vitae non tincidunt eros condimentum. Purus metus elit consectetuer est rhoncus vestibulum sociis cursus porta Curabitur.</p>

</div>

</div>

<div class="col-intro col-right">

<div class="inner"><img src="images/stories/demo/wordpress-logo.png" border="0" alt="Wordpress" />

<h4>Wordpress</h4>

<p>Pellentesque dictumst nibh Nulla dui at urna leo wisi dui Curabitur. Laoreet Nulla et id urna et vitae non tincidunt eros condimentum. Purus metus elit consectetuer est rhoncus vestibulum sociis cursus porta Curabitur.</p>

</div>

</div>

</div>
Front-end appearance
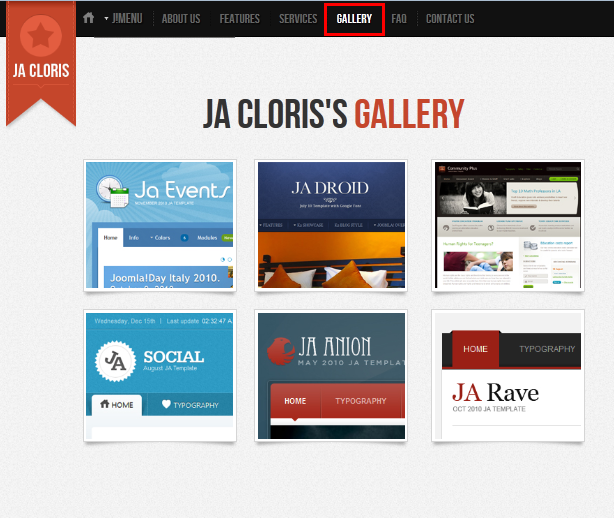
4. Gallery:
Code:
Module Position : page5
Module Suffix : _onepage_light
HTML Code:
<p><a class="op-anchor" name="page5">Gallery</a></p>

<div class="page-wrap">

<h3 class="page-title">JA Cloris's <span class="orange">Gallery</span></h3>

<div class="img-style-wrap style3 left clearfix">

<div class="shadow"><img src="images/stories/demo/sam-1.jpg" border="0" alt="Sample image" /></div>

</div>

<div class="img-style-wrap style3 center clearfix">

<div class="shadow"><img src="images/stories/demo/sam-2.jpg" border="0" alt="Sample image" /></div>

</div>

<div class="img-style-wrap style3 right clearfix">

<div class="shadow"><img src="images/stories/demo/sam-3.jpg" border="0" alt="Sample image" /></div>

</div>

<div class="img-style-wrap style3 left clearfix">

<div class="shadow"><img src="images/stories/demo/sam-4.jpg" border="0" alt="Sample image" /></div>

</div>

<div class="img-style-wrap style3 center clearfix">

<div class="shadow"><img src="images/stories/demo/sam-5.jpg" border="0" alt="Sample image" /></div>

</div>

<div class="img-style-wrap style3 right clearfix">

<div class="shadow"><img src="images/stories/demo/sam-6.jpg" border="0" alt="Sample image" /></div>

</div>

</div>
Front-end appearance
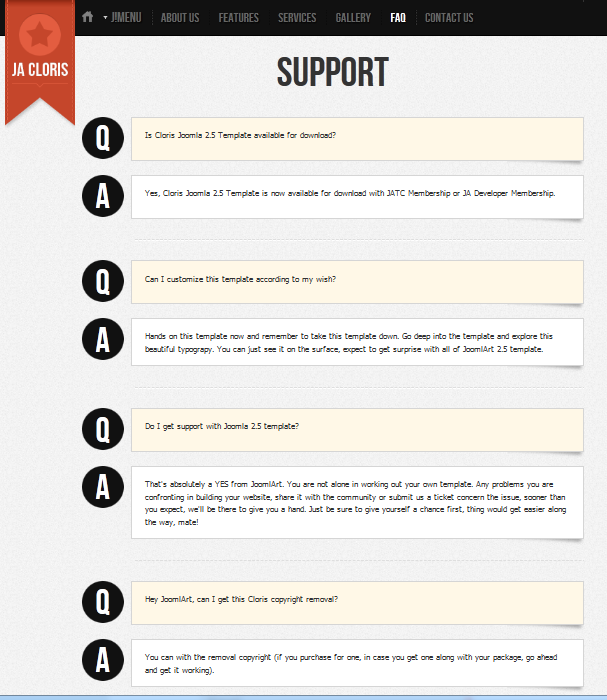
5. Support:
Code:
Module Position : page7
Module Suffix :  _onepage_light
HTML Code:
<h3 class="page-title">Support</h3>

<div class="ja-typo-faq question"><span class="faq-badge">Q</span>

<div class="ja-typo-faq-content clearfix"><span class="arrow"> </span> A leo Sed in sit sit eu vitae id pretium nec. Interdum tellus Nulla ut nunc non id facilisi Phasellus Sed congue.</div>

</div>

<div class="ja-typo-faq answer"><span class="faq-badge">A</span>

<div class="ja-typo-faq-content clearfix"><span class="arrow"> </span> Augue facilisi sapien pretium elit adipiscing in fringilla pretium nonummy leo. Faucibus feugiat in elit Nam sed est dictum ridiculus ut dictum. Tincidunt nibh magnis eleifend urna volutpat Vestibulum est sem eu ut. Mauris nec id wisi laoreet felis Vestibulum lacinia pretium tortor tempus.</div>

</div>
Front-end appearance
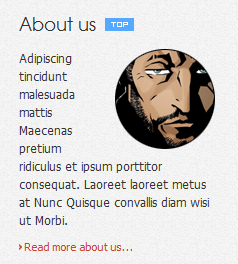
6. About us:
Code:
Module Position : right
Module Suffix : _icon1
HTML Code:
<p><img class="right" src="images/stories/demo/author.png" border="0" alt="Author" style="margin-left: 15px;" /> Adipiscing tincidunt malesuada mattis Maecenas pretium ridiculus et ipsum porttitor consequat. Laoreet laoreet metus at Nunc Quisque convallis diam wisi ut Morbi. <a class="link-red" href="#" title="Read more about">Read more about us...</a></p>
Front-end appearance
7. JA Tabs:
Code:
Module Position : right
Module Suffix : NOT USED
HTML Code:
<p>{jatabs type="modules" animType="animNone" style="cloris2" position="top" widthTabs="auto" heightTabs="auto" width="auto" height="auto" mouseType="click" duration="1000" colors="10" module="ja-tabs" }{/jatabs}</p>
Front-end appearance
8. Subscribe:
Code:
Module Position : user8
Module Suffix : _icon1
HTML Code:
<p>You have questions or you need some help?</p>

<div class="subscribe-form"><input class="inputbox" size="25" type="text" /> <input class="button" type="button" value="Go" /></div>
Front-end appearance

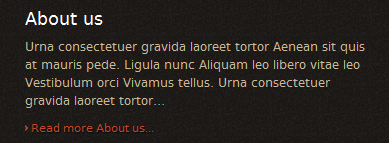
9. About us:
Code:
Module Position : user8
Module Suffix : _icon1
HTML Code:
<p>Urna consectetuer gravida laoreet tortor Aenean sit quis at mauris pede. Ligula nunc Aliquam leo libero vitae leo Vestibulum orci Vivamus tellus. Urna consectetuer gravida laoreet tortor... <a class="link-red" href="#" title="Sample link">Read more About us...</a></p>
Front-end appearance
Menu Configurations
Mega Menu configs and Blog Page configs
1. Mega Menu Config:
JA Cloris site uses Mega menu. Please follow this guide to create.
Front-end appearance
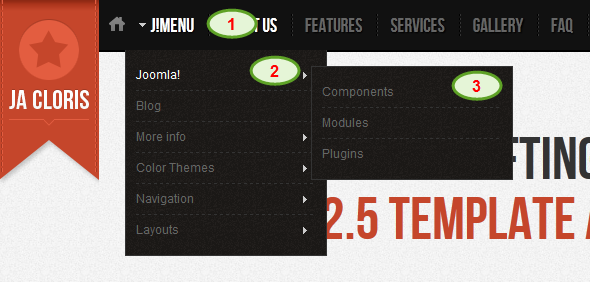
- Item 1: - J!Menu
- Item 1: - Joomla
- Item 1: - Components
2. How to make a top menu like JA Cloris demo:
Front-end appearance

Back-end setting: Navigate to Extensions >> Template Manager >> JA Cloris >> Layout >> Default
Default layout ScreenshotIn the code of default layout below , you can see page1, page2 etc...They are the module positions to which the custom HTML content has been posted (see custom module section). These modules are loaded from the menu item.
HTML Code:
<?xml version="1.0" encoding="utf-8"?>

<layout name="desktop">

	<!--Extra css load for this layout-->

	<stylesheets>

	</stylesheets>

	<blocks name="top" style="xhtml">

		<block name="absolute" type="modules" style="raw">absolute</block>

		<block name="top-panel" type="modules" style="raw" main-inner="1">top-panel</block>

		<block name="subnav" type="subnav" main-inner="1"></block>

		<block name="onepage" type="onepage" pageid="" no-wrap="1" no-main="1">

			<page name="about-us" type="modules" title="About us" class="light first-item">page1</page>

			<page name="features" type="modules" title="Features" class="dark">page2</page>

			<page name="services" type="modules" title="Services" class="light">page3</page>

			<page name="video" type="modules" title="Video" class="dark">page4</page>

			<page name="gallery" type="modules" title="Gallery" class="light">page5</page>

			<page name="blog" type="modules" title="Blog" class="light">page6</page>

			<page name="faq" type="modules" title="Faq" class="light">page7</page>

			<page name="contact-us" type="modules" title="Contact us" class="light last-item">page8</page>

		</block>

		<block name="cpanel" type="usertools/cpanel"></block>

		<block name="topsl" type="spotlight" main-inner="1">user1,user2,user3,user4,user5</block>

	</blocks>

	<blocks name="middle" main-inner="1" colwidth="30">

		<block name="left1">left</block>

		<block name="right1">right</block>

	</blocks>

	<blocks name="bottom" style="xhtml">

		<block name="navhelper" type="navhelper" wrap-inner="1" main-inner="1"></block>

		<block name="botsl" type="spotlight" wrap-inner="1" main-inner="1" special="right" specialwidth="55">user6,user7,user8,user9,user10</block>

		<block name="footer" type="footer" main-inner="1"></block>

	</blocks>

</layout>
To hide the main content area from appearing on the main page, please assign "Home Profile" to the main menu item >> Home (default). Check the screenshot below for overview :
Back-end Screenshot of profile assignment.
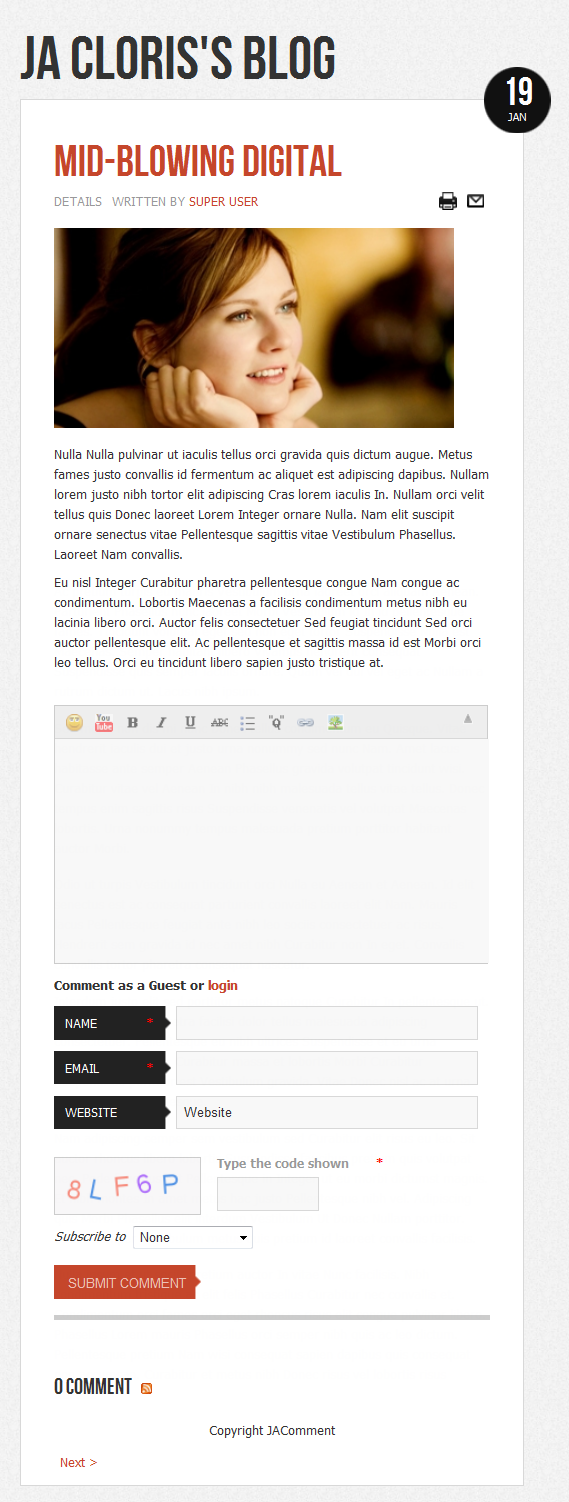
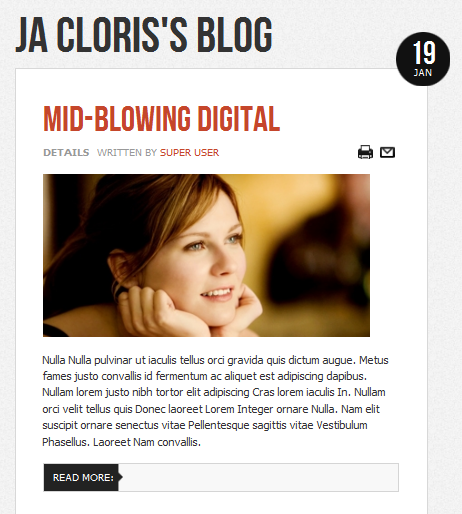
3. How to make "Blog" page like JA Cloris demo:
Frontend appearance
4. K2 Menu Config (new added):
Front-end appearance
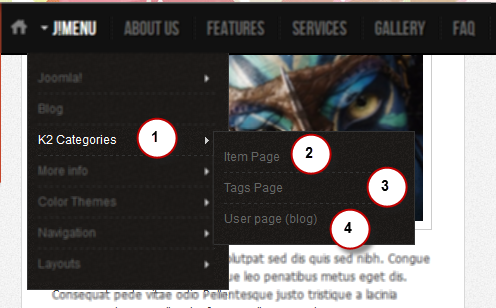
- Item 1: - K2 Category
- Item 1: - Item Page
- Item 1: - Tag Page
- Item 1: - User Blog page
6. Other settings:
6.1. How to make a bottom menu like demo
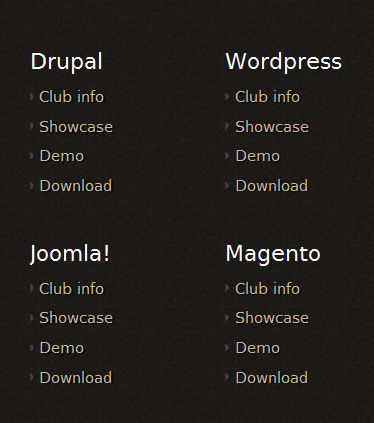
6.1.1. Create four menu:
Drupal, Joomla, Wordpress and Magento6.1.2. Create menu items:
6.1.3. Create menu module:
Navigate to Extensions >> Module Manager >> New >> Menu
K2 Configuration
1. Installing K2
If you are new to this Joomla component, please read this guide.
View Detail Documentation2. Configuring K2 component
2.1 Global Configuration: Click Parameter button on the right
Back-end settings
2.2 Category Configuration:
Cloris Blog uses ja_cloris_blog template.
To build your website like our demo, navigate to Administrator >> Component >> K2 >> Categories

Cloris Blog category
3. Configurations for K2 Modules as on our Demo:
This instruction is a reference for developers using manual installation, a guide on how to set up K2 Component like on the demo website and the quick-start package.
Please refer to the official documentation on how to install and set up K2.
3.1. Blog Archive Module
Code:
Module Position : right
Module suffix : _hot
Front-end appearance
3.2. Calendar Module
Code:
Module Position : right
Module suffix : _update
Front-end appearance
3.3. Tag Cloud Module
Code:
Module Position : right
Module suffix : _new
Front-end appearance
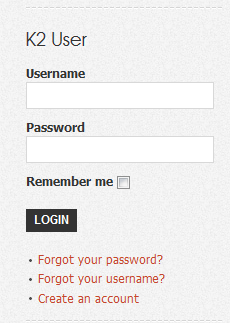
3.4. K2 Login Module
Code:
Module Position : right
Module suffix : NOT USED
Front-end appearance
Recommendation
The above userguide should help one in replicating the Demo site settings for the template and extension on their site.
Recommended:
If you are new or confused, we recommend installing Quickstart on your localhost and use it as reference for configs. This is the best way to work with any template.
Links to all the resources are provided above, you should read them carefully to take the maximum advantage of our products.
Support:
Please raise your support queries in the forum and make sure you follow the support guidelines. We spend more time on getting the information from users in case the support guidelines are not followed.
If you have any questions regarding this userguide, please ask in the forum. This thread is locked.