Note: This is the new feature in version 1.0.4 so to use this feature, you need to upgrade to this version.
Select Cron Type
From back-end setting of the component: JA JobBoard, go to: Global setting >> System Config >> General.
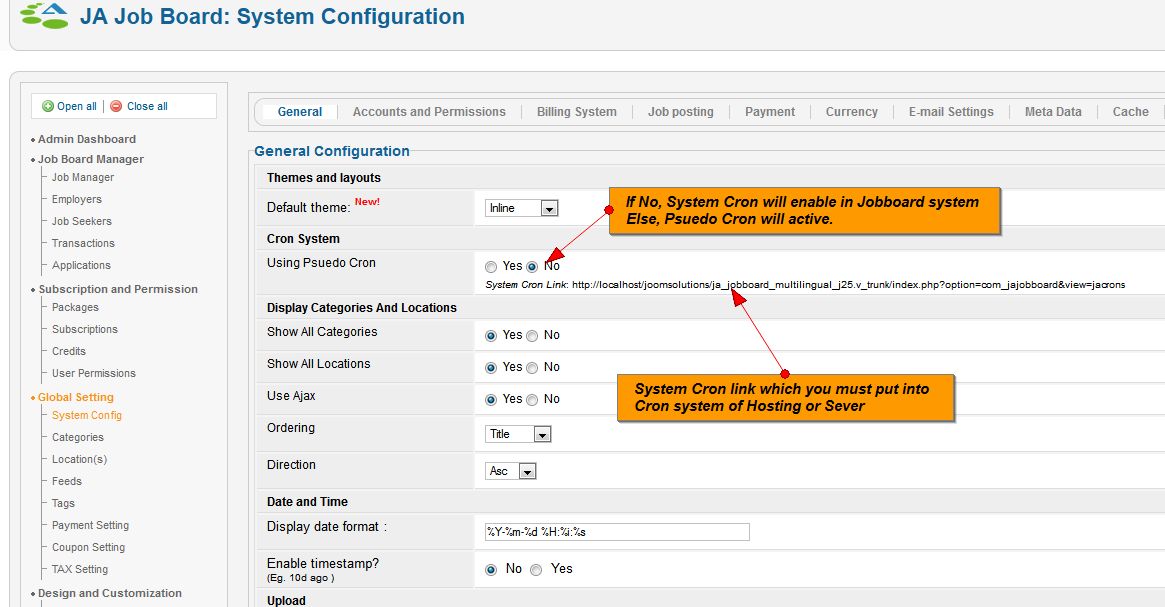
JA JobBoard supports 2 cron types: Pseudo Cron and System Cron. When you enable the option: Using Psuedo Cron, Psuedo Cron will be active. If you disable the option, System Cron will be enabled.
- Pseudo Cron: is scheduled task in JA Jobboard system. It runs when there is any request to JA Jobboard component. This option should be used when your site has not many users .
Note: If you use Pseudo Cron, your setting process have finished, the following instruction is just for the case you select to use System Cron Job.<bn />
- System Cron: is a scheduled task on the hosting server. You may choose to run specific program in specific time, periodically. In case of JA Jobboard, please open Jobboard page (usually, the page should be: http://yourdomaint/index.php?option=com_jajobboard&view=jacrons) with browser (in windows). If you are using Linux/Unix hosting, please use command-line to interact.
We will use command-line text mode browser, named Lynx. You may run it on Unix with the following command:
/usr/bin/lynx -source
Next command:
/usr/bin/lynx -source http://yourdomaint/index.php?option=com_jajobboard&view=jacrons
This command will access specified URL and display HTML source of the page. In our case, we don't need any output, we just need our page to be accessed, so we will ignore output.
System Cron Job Setting
Jobboard Cron requires to handle:
- Recurring expired Jobs, member, employers and jobseekers checking.
- Sending email to Jobseekers or Employers when updated data is compatible with member's profile, jobalerts,... So it executes some necessary system tasks.
System Cron Job Setting
Usually, server hosting will give you instructions of CPanel-based control panel. We hope you will be able to find equivalent controls if your hosting uses different panel software. The following steps are the instruction of System Cron setting.
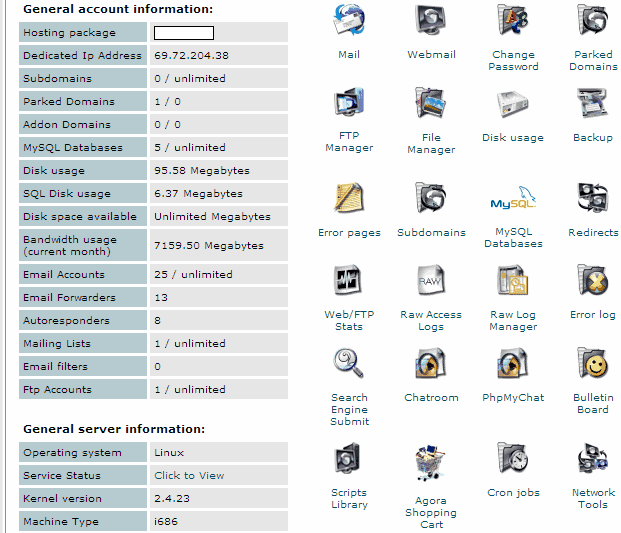
- Login into your webhosting control panel. You will see a screen like that:
- Click to Cron Jobs link. It may also be hidden in Tools or Advanced submenu. A screen that offer you to select your experience level. Now, select Advanced.
- Next, you will see the following screen:
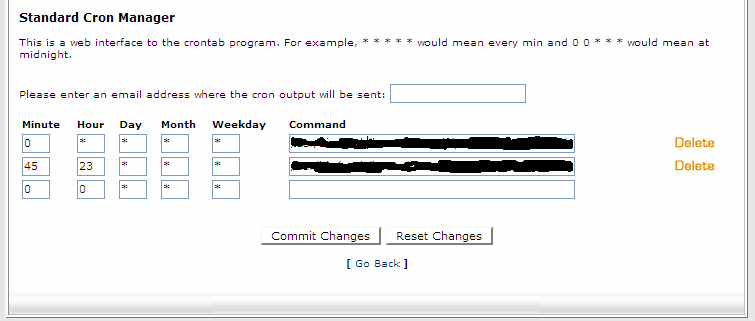 Of course, replace the yoursite.com<b> to your actual domain name. Ensure that the URL works by opening it in your browser. Now, Click Commit Changes.